With open source tools Jenkins and Gitlab you can automate your builds, track bugs, do code reviews and work in feature branches for .NET development. Here's how to get it all working.
-
Your first step is to download and install the (free) community edition of Gitlab. If you don’t have a linux server available, you can always run one within Virtual Box on your windows server.
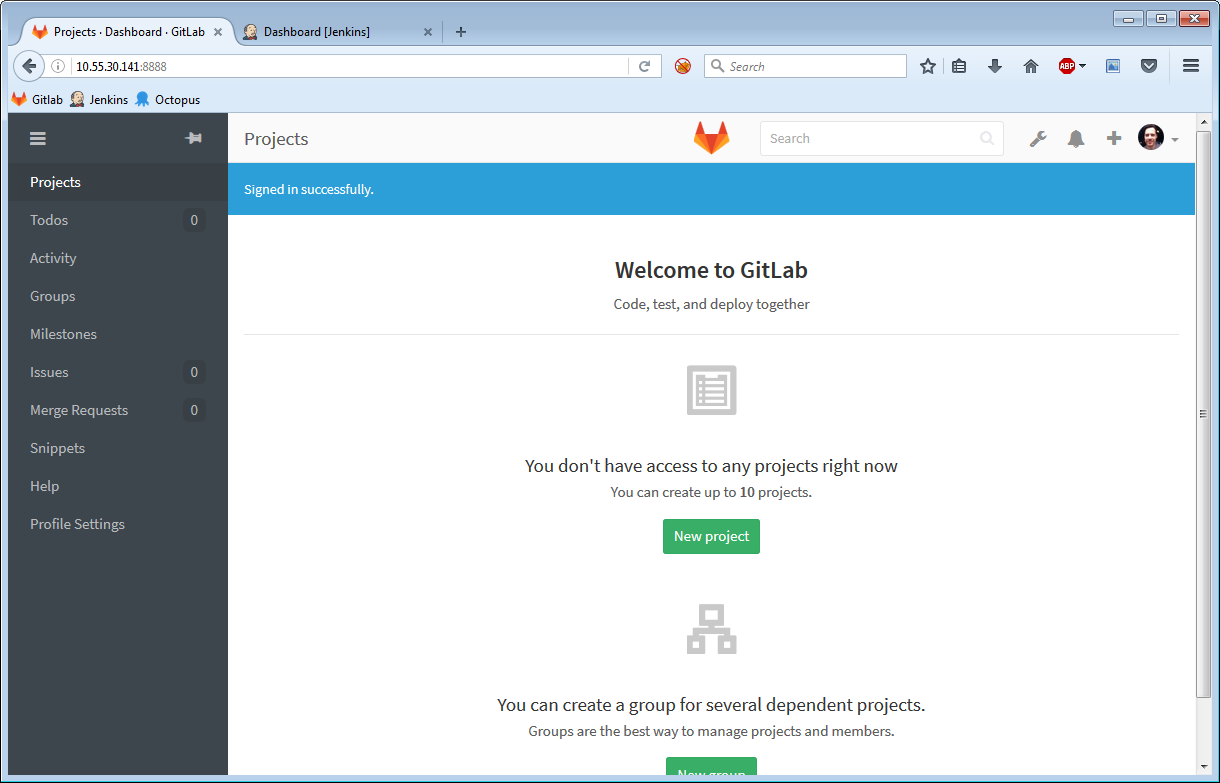
After installation, you should be able to log in and see the home page:![]() For this example we are going to assume that Gitlab is available at the following address:
For this example we are going to assume that Gitlab is available at the following address:
<pre>http://10.55.30.141:8888</pre> -
On your windows server, you need to install the following:
-
Jenkins. Make sure you install the following plugins:
-
Gitlab Plugin
-
Credentials Plugin
-
Git plugin
-
xUnit plugin
-
-
Git for Windows</ul>
Once installed, your Jenkins server should look something like this:![]()
For this example we are going to assume that Jenkins is available at the following address:
<pre>http://10.55.30.100:8080</pre> -
Within Gitlab, go ahead and create a new project named “example”:
 For this example we are going to assume that Gitlab is available at the following address:


and then create a .gitignore file:

Put the following contents into the file:
 *.suo
 [Dd]ebug/
 [Dd]ebugPublic/
 [Rr]elease/
 [Rr]eleases/
 x64/
 x86/
 bld/
 [Bb]in/
 [Oo]bj/
 [Ll]og/
- Now you can check out your project by running Git Gui and cloning your repository:

When prompted, enter your Gitlab username + password.
- You can now create a project inside this directory. If VS complains that the folder isn’t empty, create it in a different spot and then move it into your cloned git directory. In this example, we’re just creating a boring console app:


- Commit and Push your changes:

- You should now see your new application within Gitlab!

- Now we need to setup a user account in Gitlab for Jenkins to use. So, create a new user account in Gitlab:

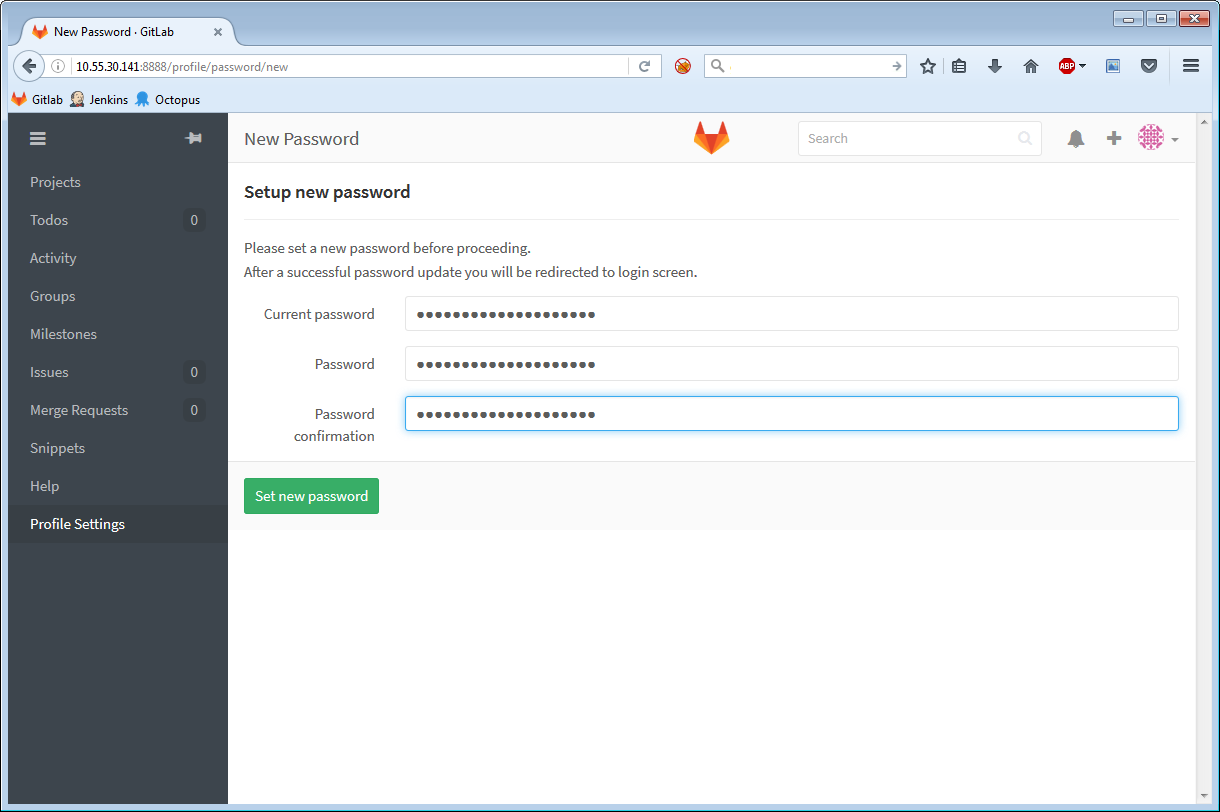
Annoyingly you can’t just enter a password for them. So hit save, then edit the user, and enter in a new password. Then… log out, and log in as this user. You will then be prompted to change your password:
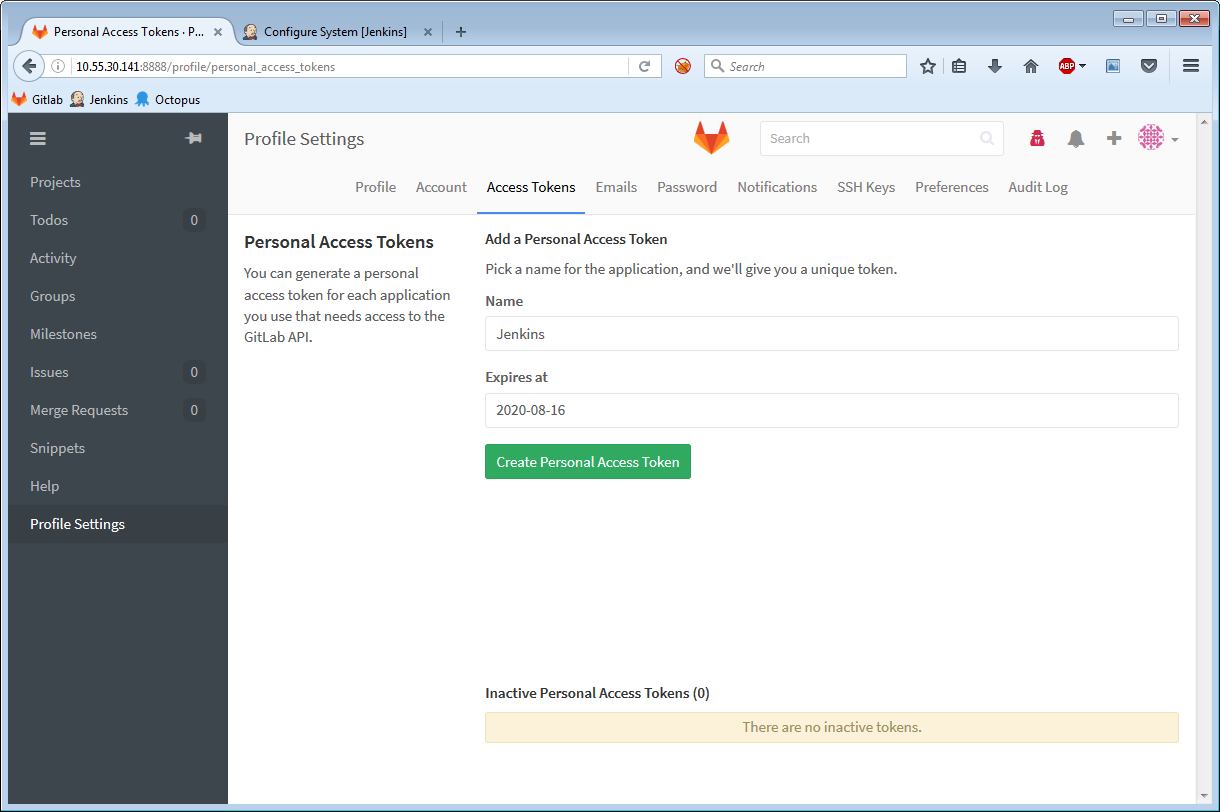
You’ll also need to go to “Profile Settings” -> “Access Tokens” and create a new token:
- Log out of Gitlab and log back in as your account. Give the Jenkins account “developer” permissions to your new “example” project by opening the project, clicking on the “settings” icon to the top right and clicking “Members”:
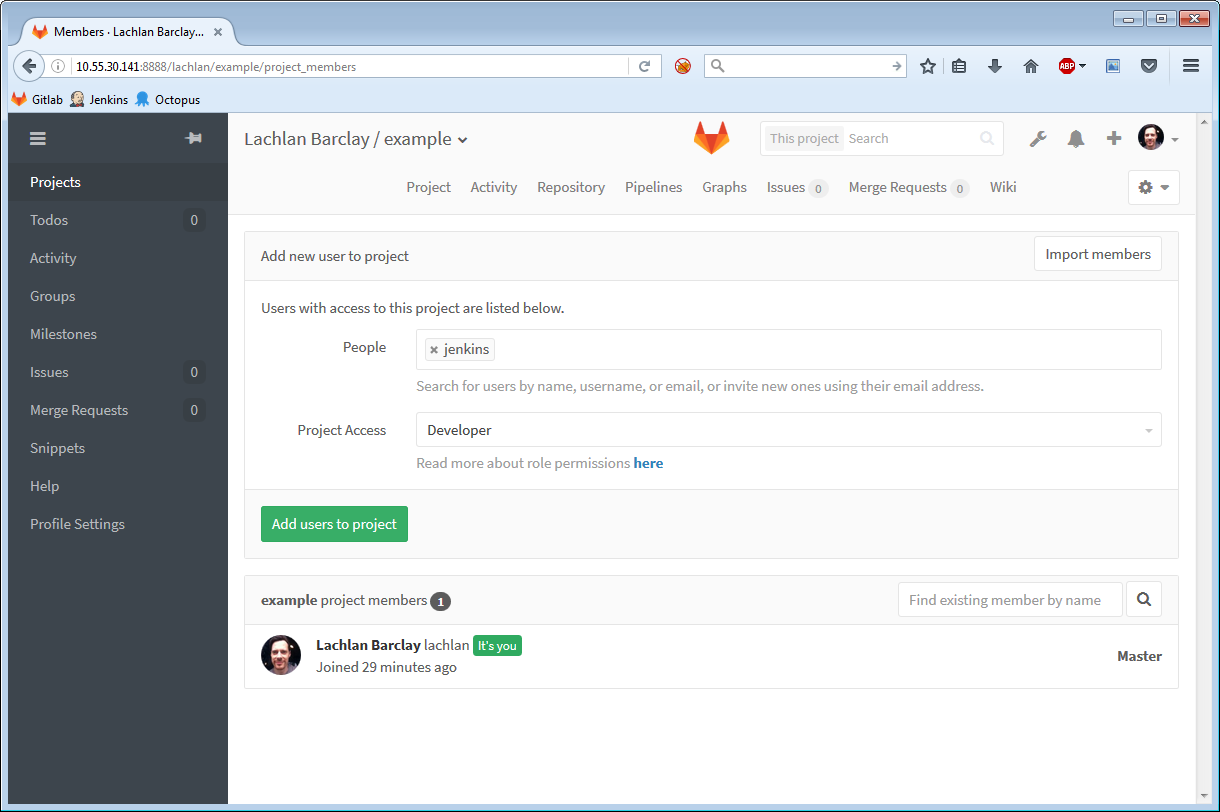
Type “Jenkins”, give them “Developer” permissions and hit “add users to project”.
- Now we can start setting up Jenkins! Open up Jenkins and go to Manage -> Configure System, and scroll down to the “Gitlab” section. You’ll need to enter your gitlab details into Jenkins:
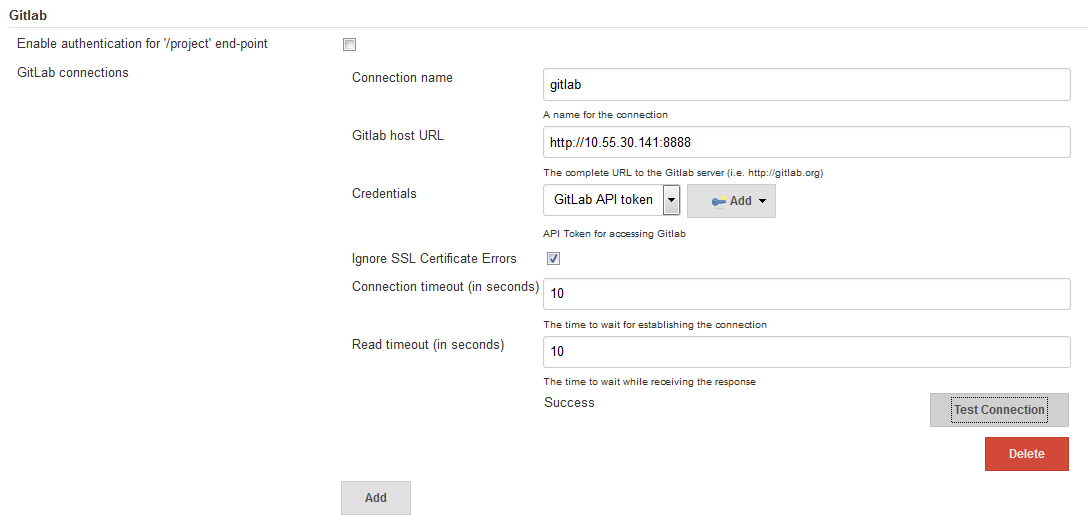
Next to the Credentials dropdown, click Add, and choose “Gitlab Api Token” next to “Kind”, and enter your jenkins accound with the corresponding access token:

Click ok and make sure that this credential is selected in the dropdown. If it doesn’t appear, you need to add the “credentials” plugin - if that doesn’t work, install the “Plain Credentials” plugin and restart Jenkins. After that it should be selectable.
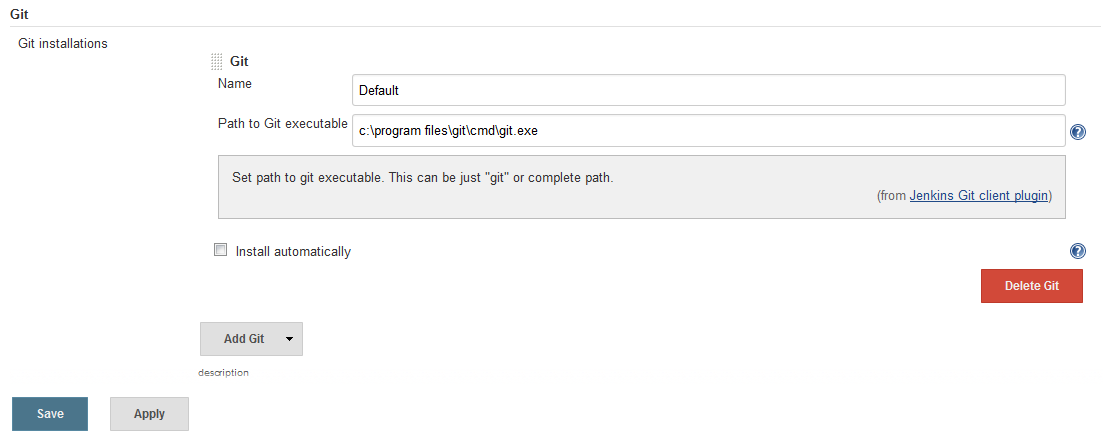
- Now scroll down to the Git section and enter your install location for Git:
Jenkins is now configured.
- We can now setup a job to continously build our application. Back to the main screen of Jenkins, create a new “freestyle project” job:

Scroll down to Source Code management, select Git, and enter your repo details:

In the “Branches to Build” section, you can leave it as master or you can enter origin/${gitlabSourceBranch}, which will mean that this Jenkins job will automatically build any branch you push to. Very cool.
Scroll down to “Build Trigger”, and choose “build when a change is pushed to gitlab”

- Back within Gitlab, go to your project, click on the “settings” icon and choose “webhooks” and copy and paste the Jenkins URL:

Now here’s the gotcha. ADD A FORWARD SLASH ONTO THE END OF THE URL. That took me about a day to find.
- Back to Jenkins, scroll down to the “Build” section, click “add build step” and choose “execute windows batch command”, and enter the following commands:
C:\Windows\Microsoft.NET\Framework\v4.0.30319\msbuild
@IF NOT %ERRORLEVEL% == 0 (
     echo ABORT: %ERRORLEVEL%
     exit /b %ERRORLEVEL%
)
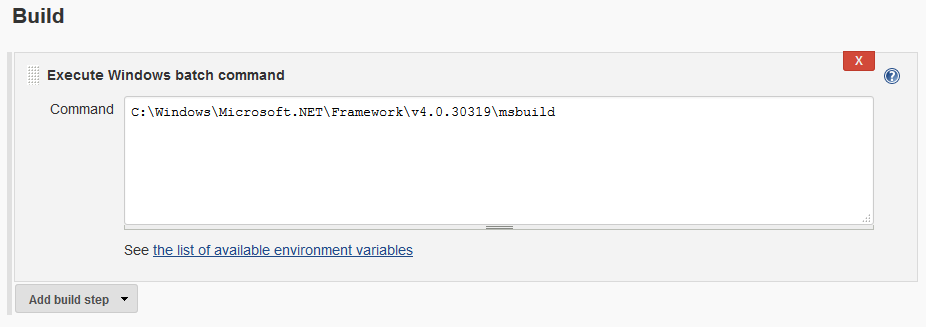 (An alternative to this approach is to use the “MSBuild” Jenkins plugin)
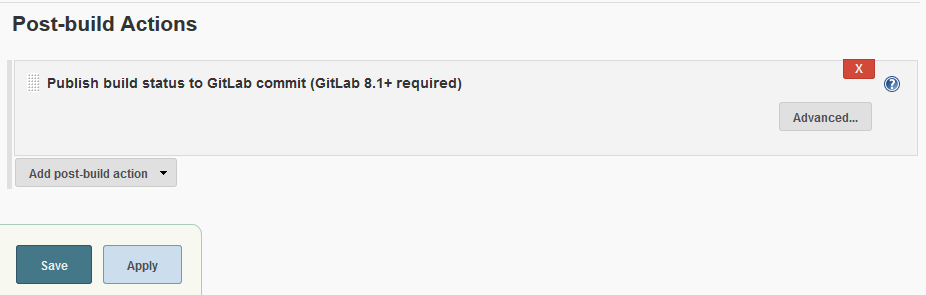
Also, within the “Post build actions” add a “Publish build status to GitLab”
-
Click Save and choose “Build Now”. It should build ok! You can now setup email notifications so that whenever a build fails your team is notified, or you can use a notification plugin. Personally I am a fan of the Hudson Tray Tracker.
-
Make a change to your code, commit and push it. Gitlab should automatically notify Jenkins to build your code:

Phew! That’s it for now. The next step is to include unit tests, DB upgrades… and then automate your deployments! Those items are outside of scope for this article as this is more than enough work for you to get started with :)