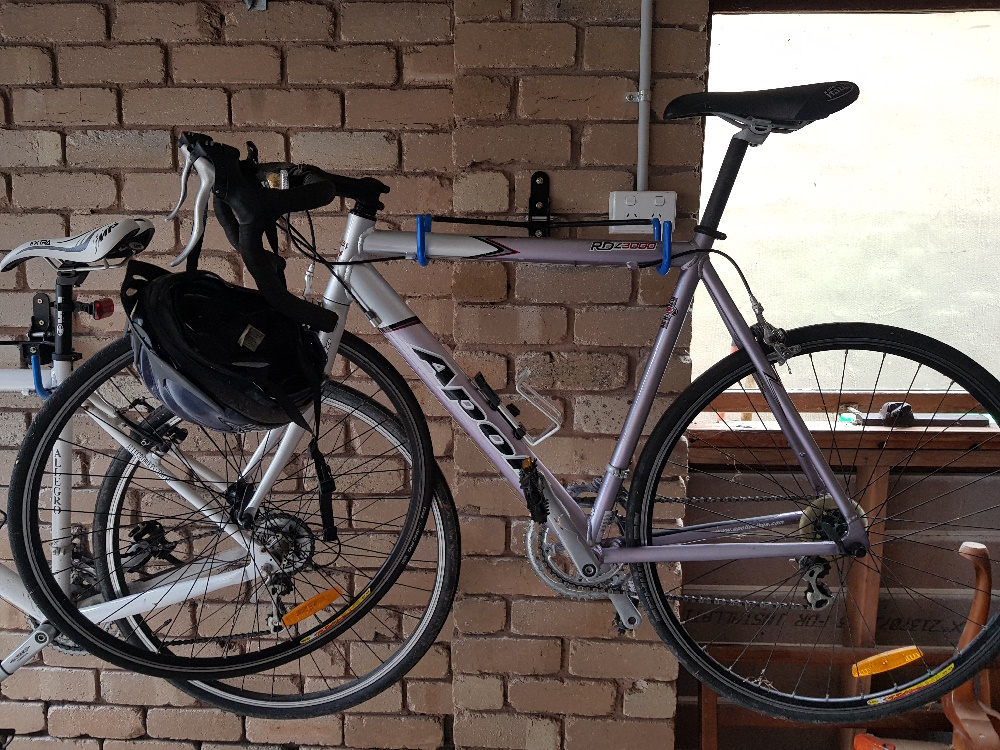
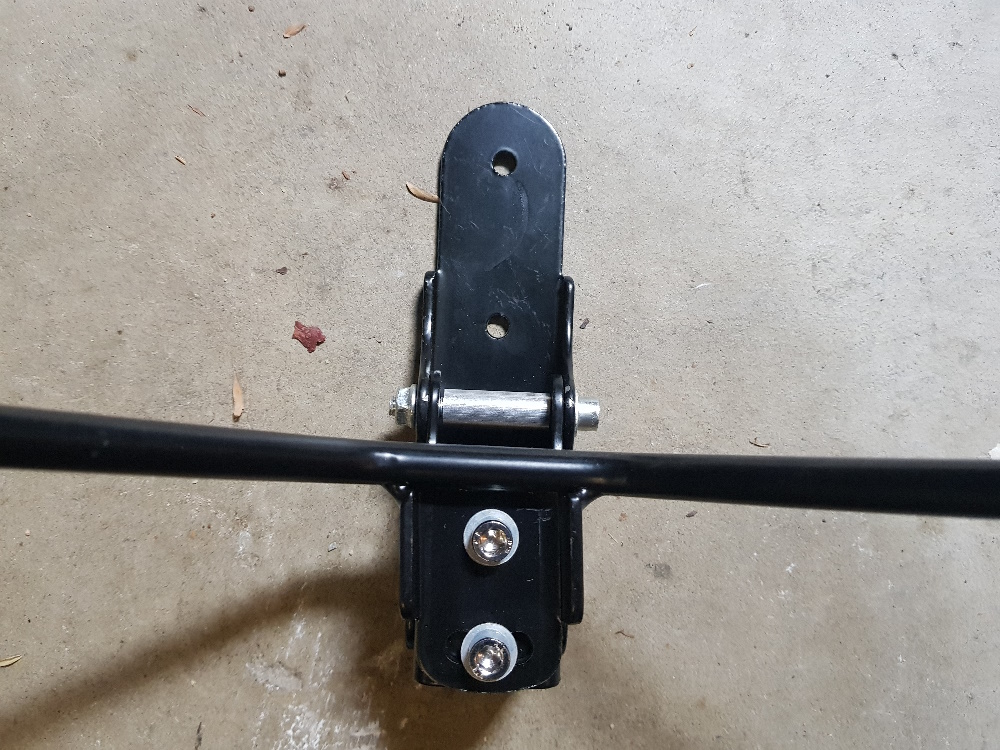
Let’s talk about how to mount a bike rack to a brick wall. I’m using a Handy Storage Bike Rack:
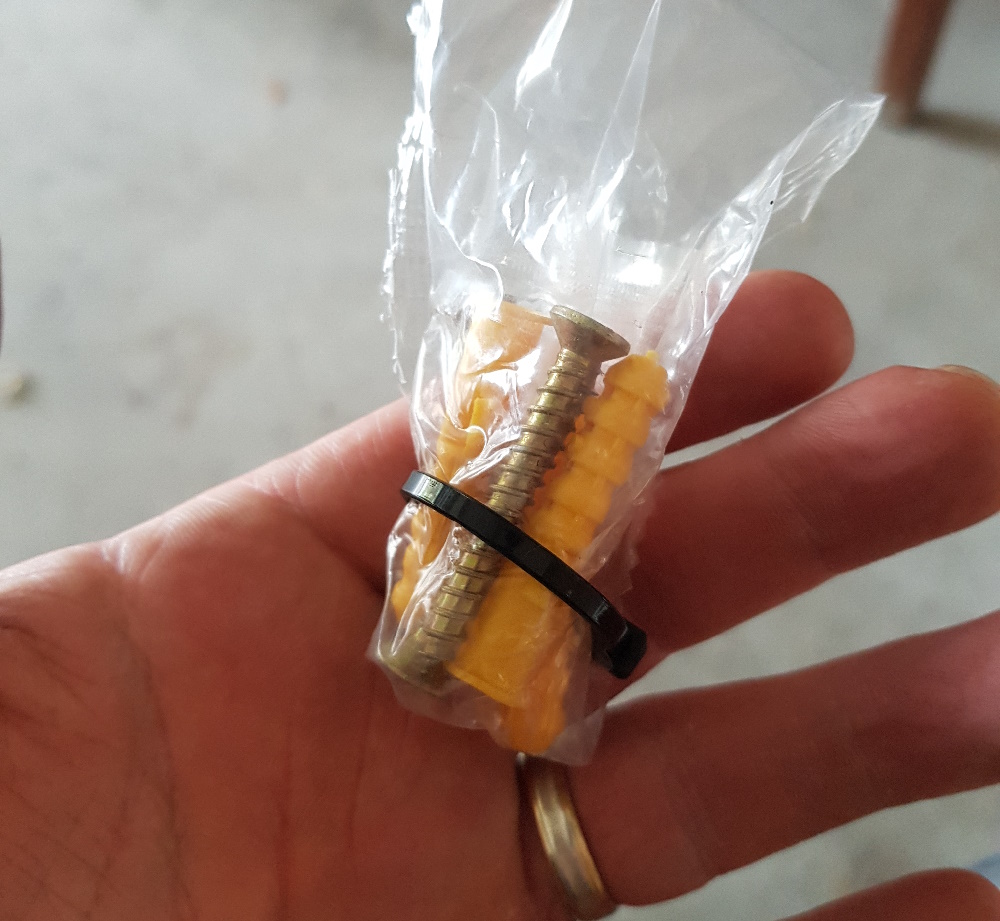
The first step is to throw out the useless wall plug and screw that it came with:
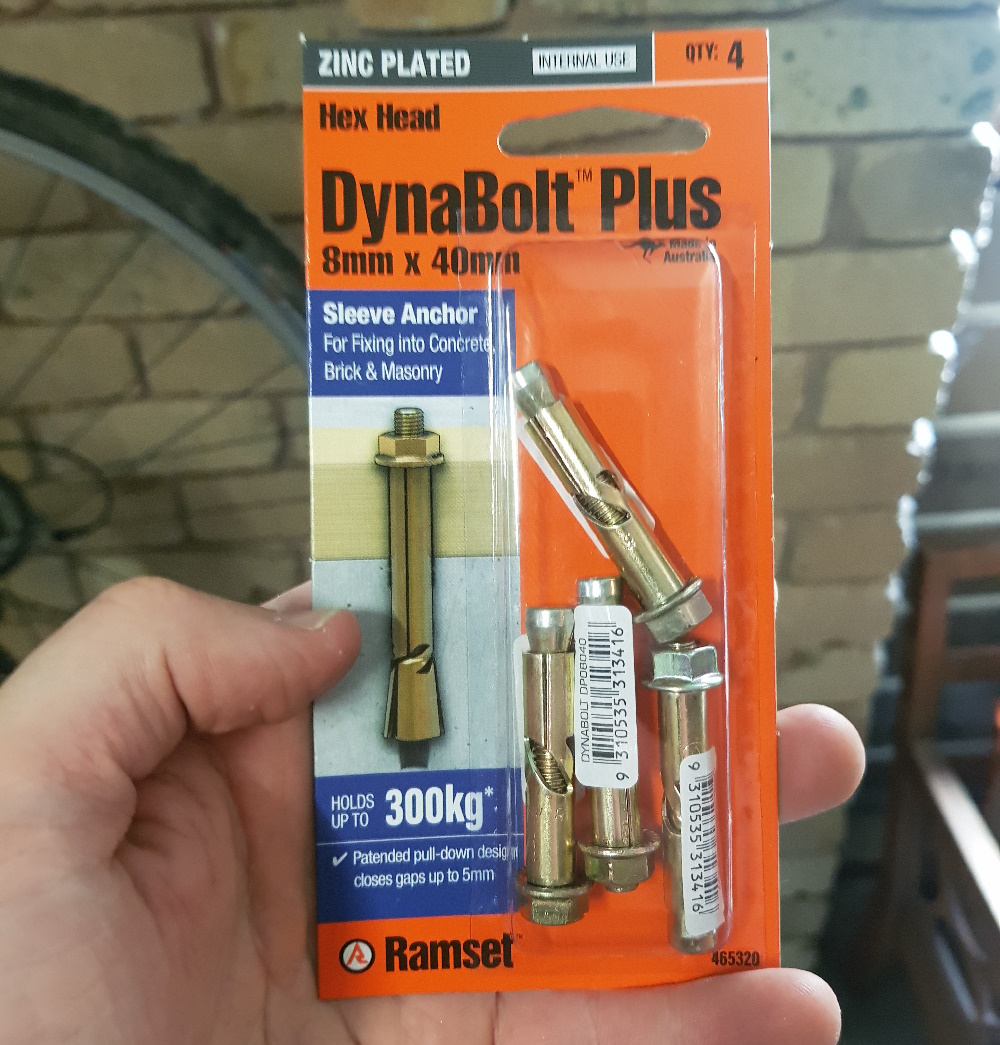
And instead, buy some 8x40mm dynabolts:
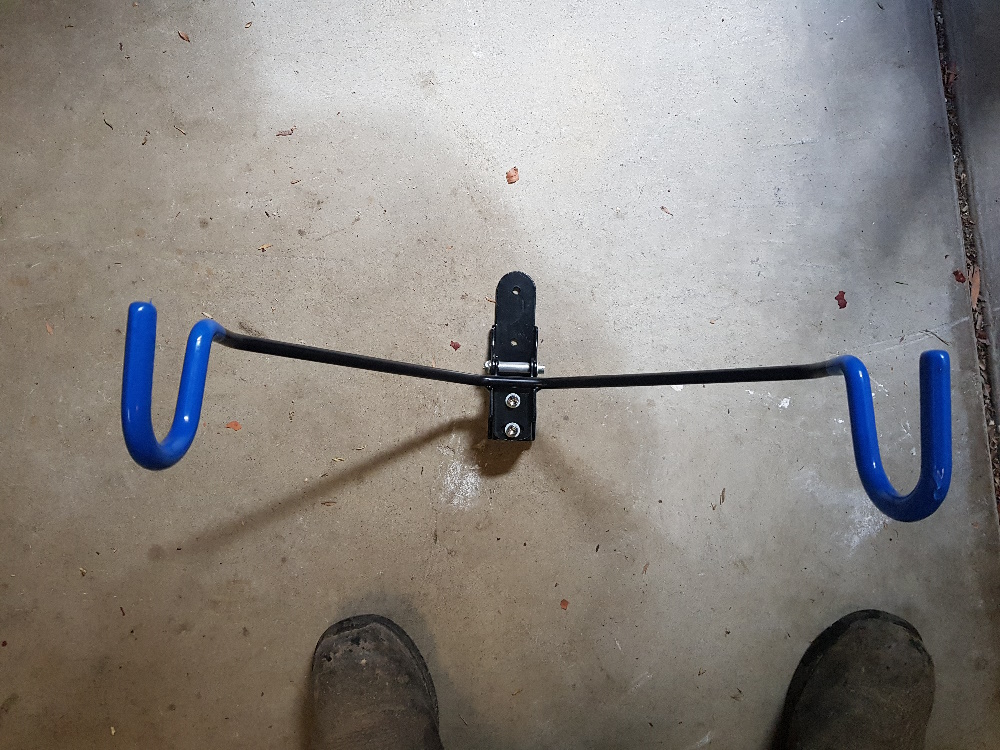
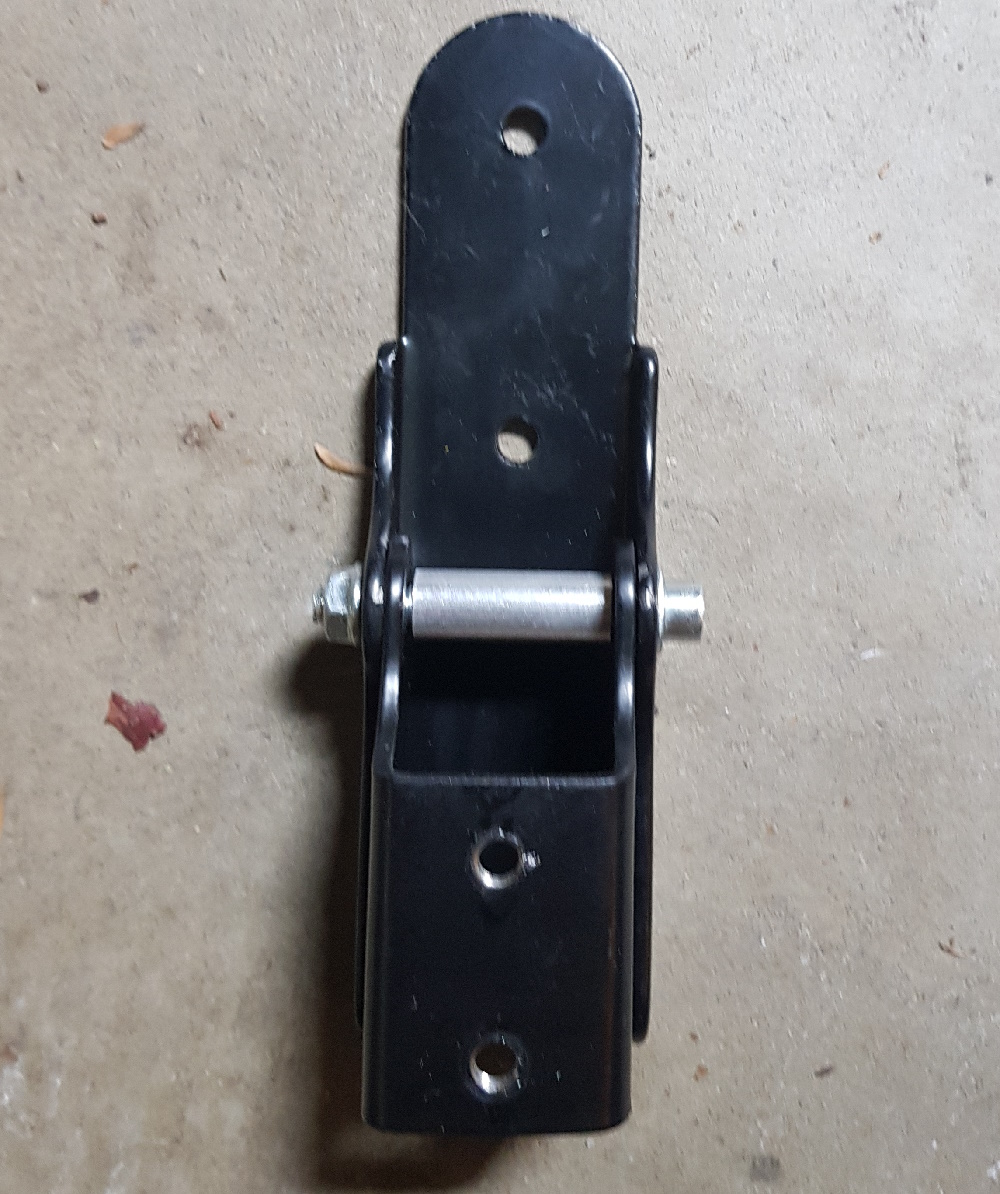
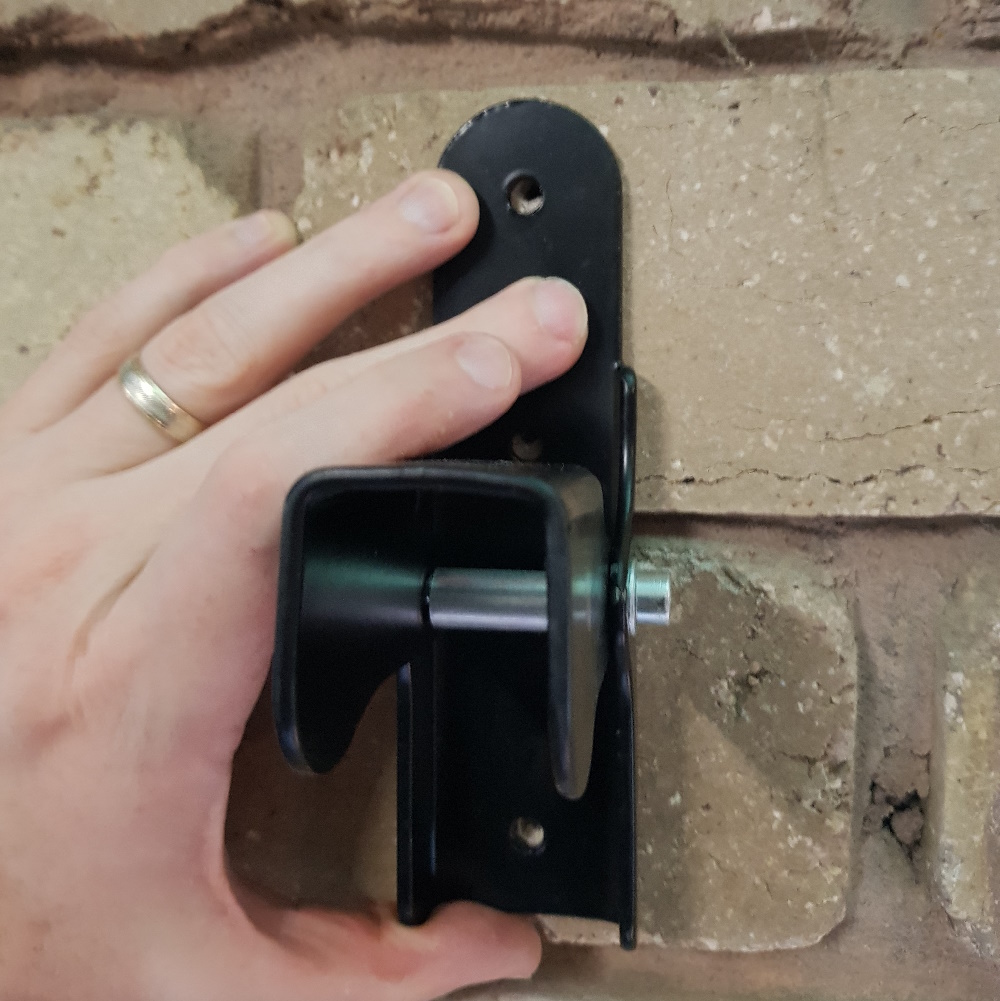
Next step, remove the two allen key bolts, as they get in the way:
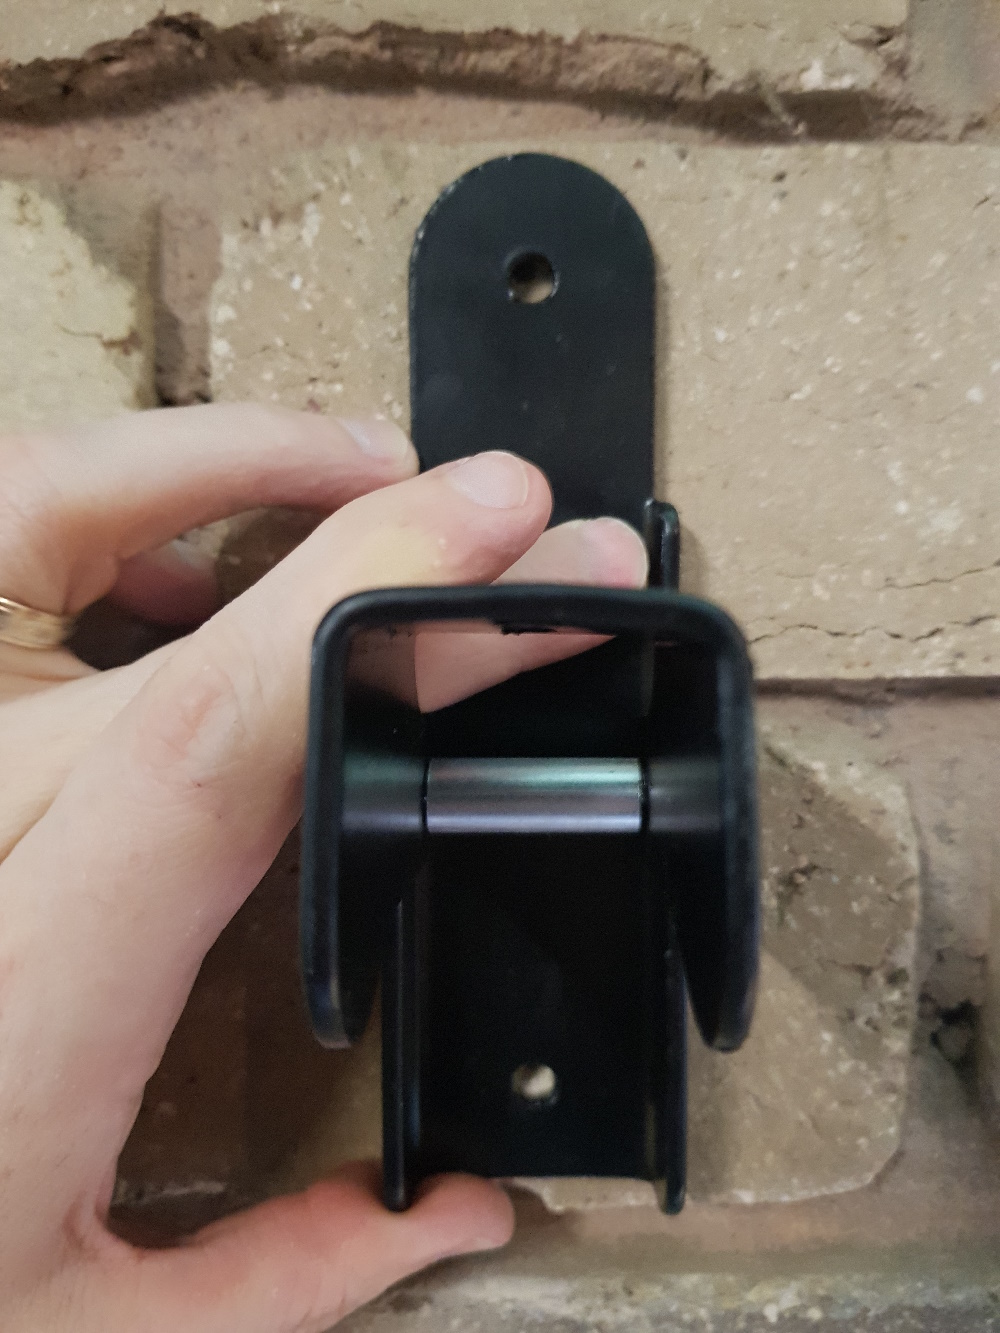
You’ll end up with the bracket:
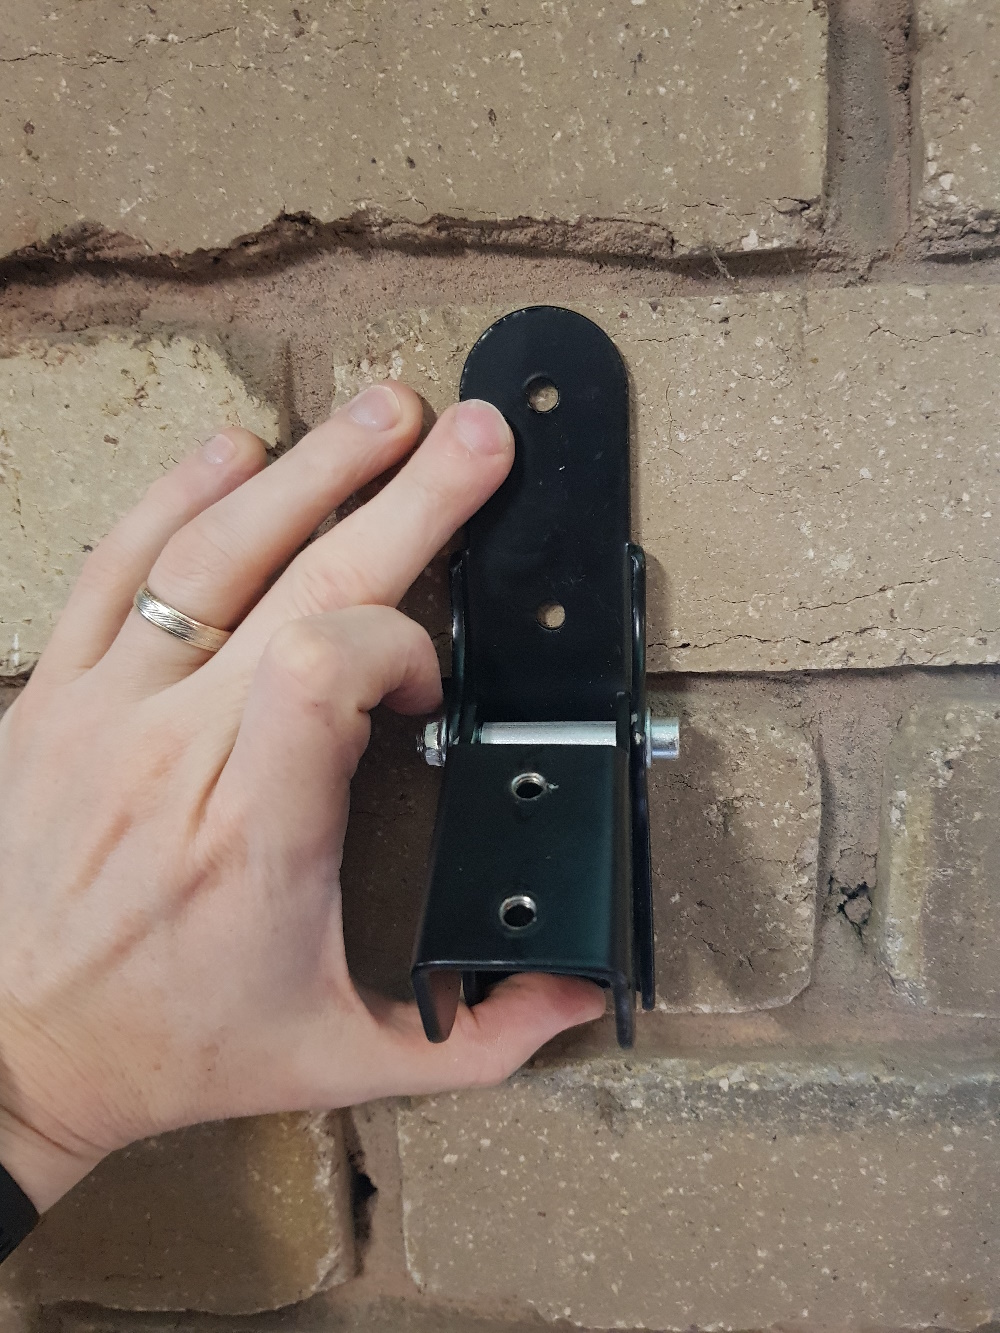
Put it up against the wall and draw a dot inside each of the three holes:
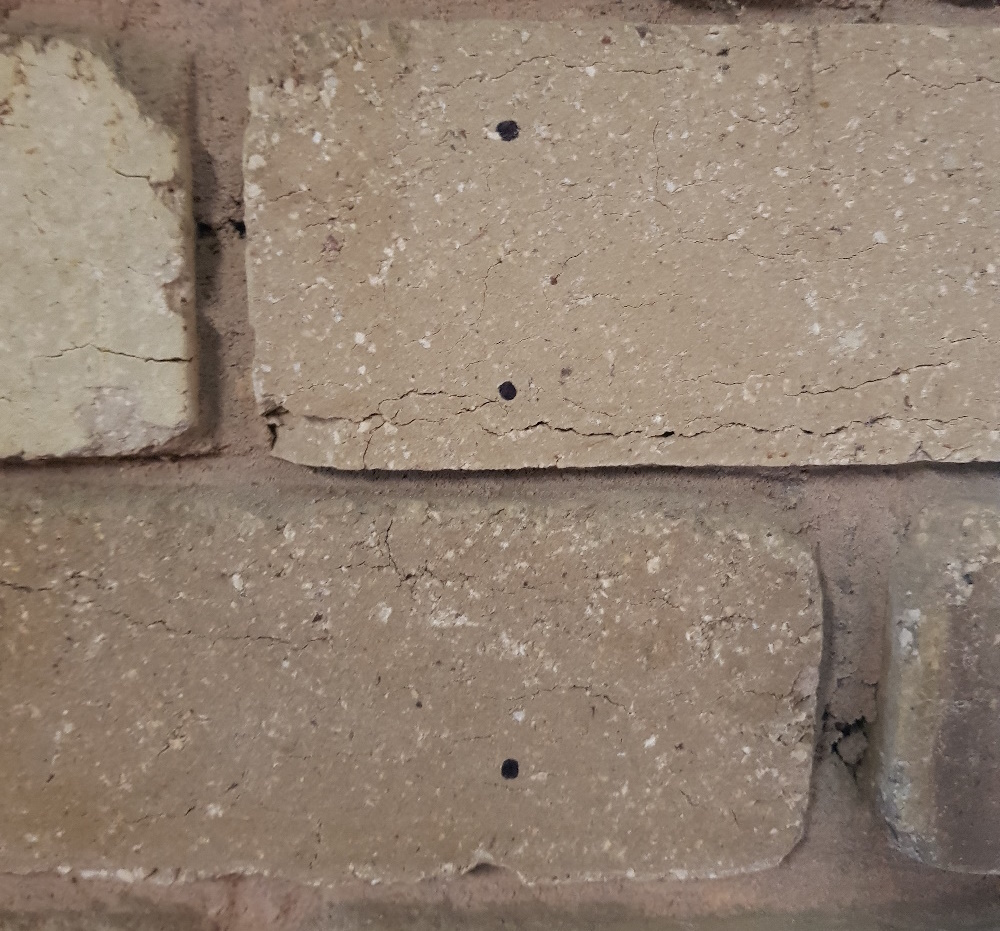
You should end up with something like this:
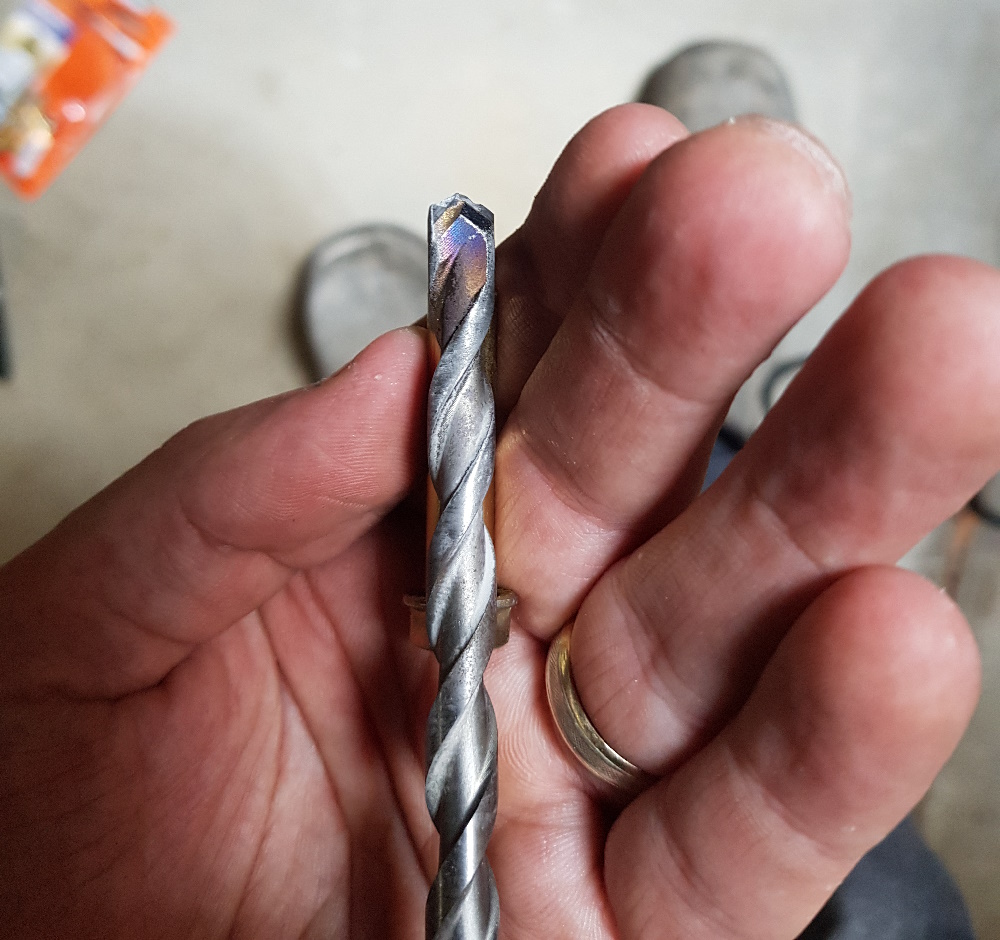
And the next step is to drill out one of those holes. You’ll need a some masonry drill bits. You’ll also need a drill with a hammer action - I suggest getting a corded drill if you only have a battery operated one, as they have a lot more power.
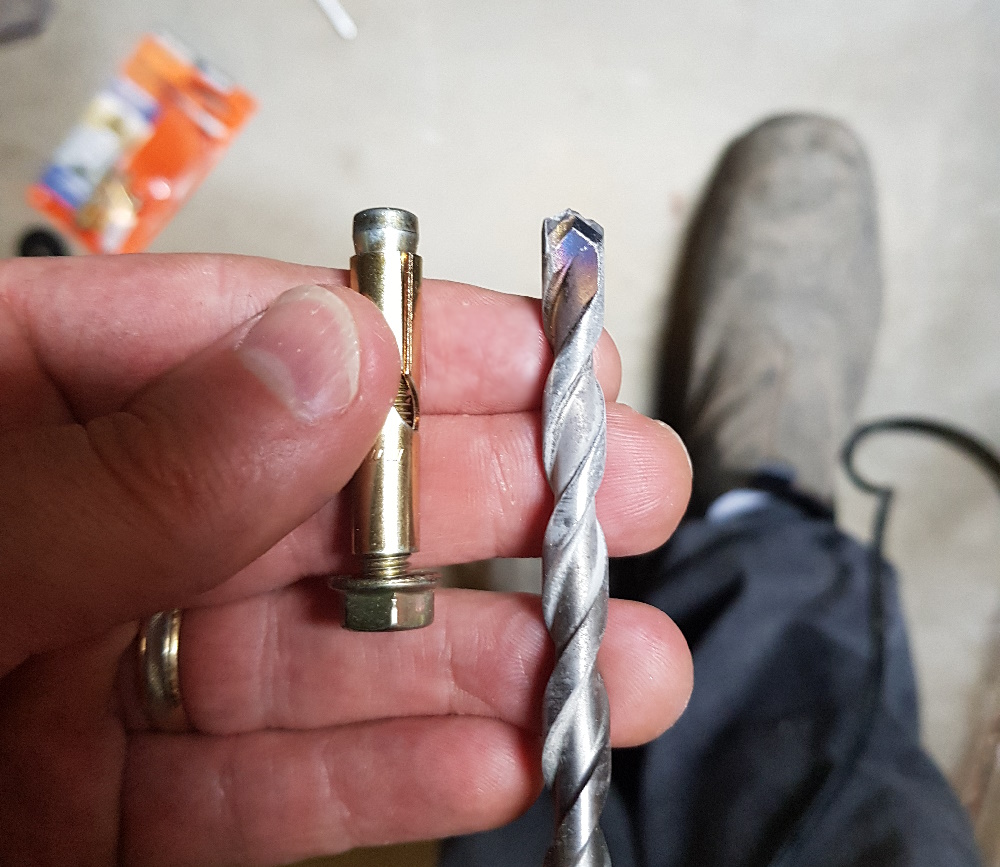
You’ll also need to work out how far to drill in. The dynabolt needs to go in as far as the bolt on the end:
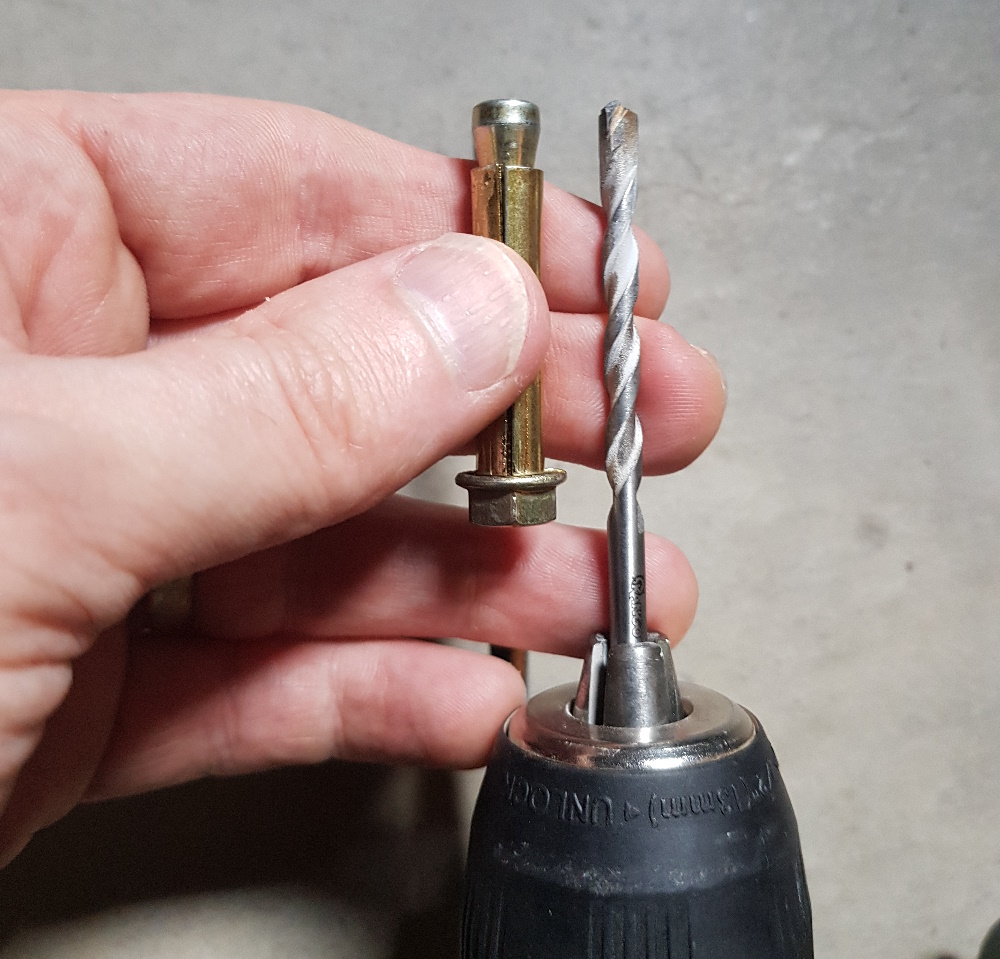
So to make sure you don’t drill in too far, line up the drill bit and the dynabolt, and you can either use a bit of tape around the drill bit to make sure you don’t go in too far, or in my case the drill that I’m using has a depth gauge:

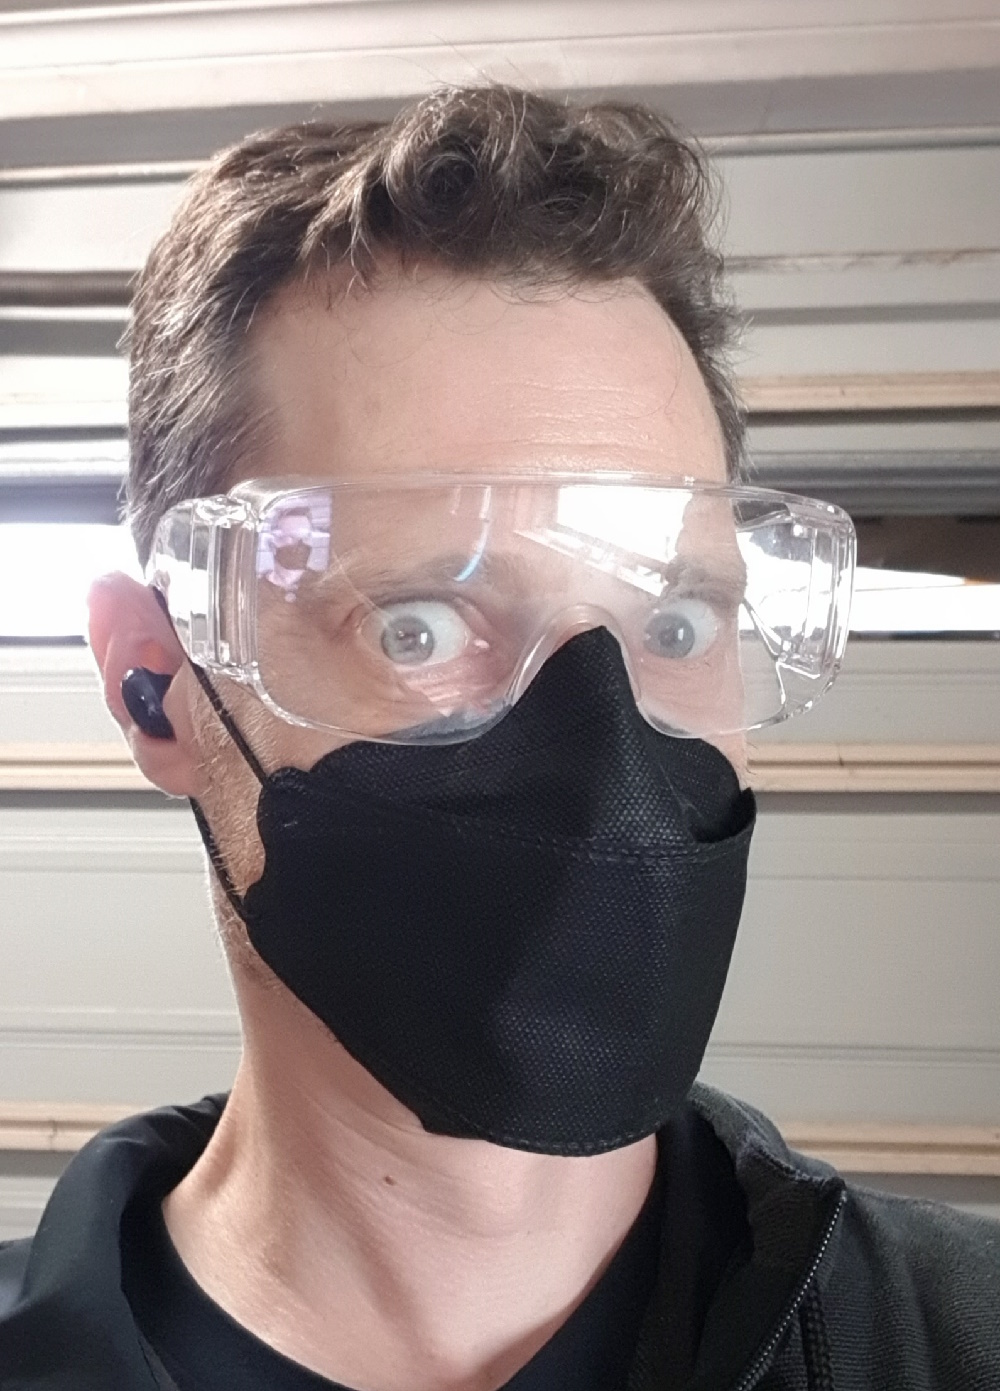
Now get yourself some protection. Ears, eyes, mouth and nose:
Start with the smallest drill bit size (5mm) and get drilling. In my case I started with the bottom hole. Hopefully you’ll end up with a hole like this:
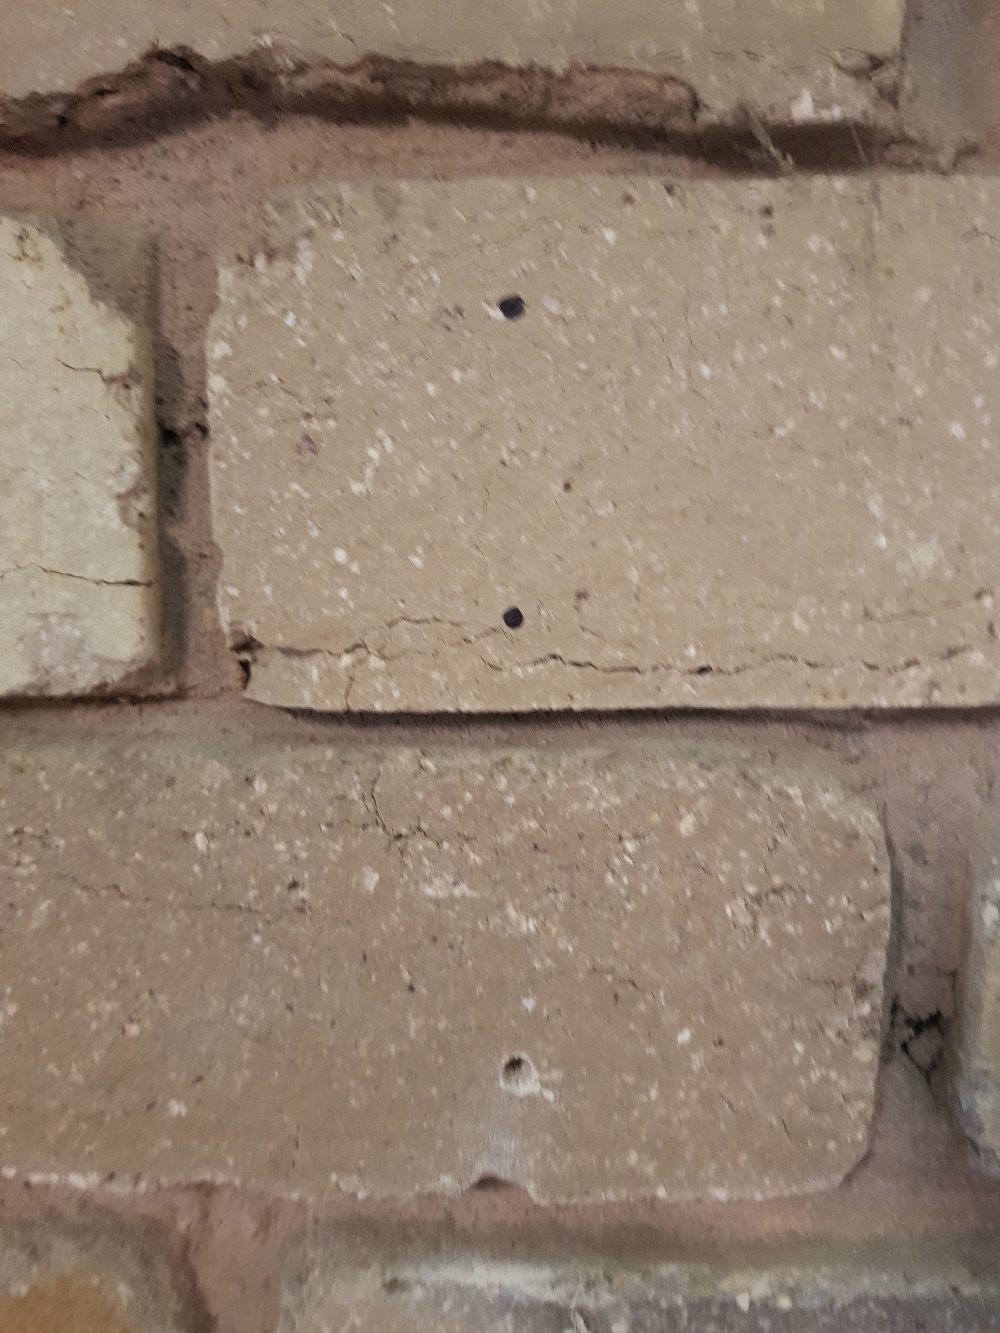
Now this is the crucial bit! Put the bracket over the hole that you just drilled and make sure things still line up:
If not, get out that sharpie again and create a new mark. Drill the top hole next, and then make sure the bracket holes still line up. In this case you can see that the middle hole was a tiny bit too high:
Now that we have three 5mm holes drilled, we need to expand them to fit the dynabolt. In this case, the 8mm dynabolt needs an 8mm drill bit:
Let’s line them up to make sure. As you can see here, the bolt sticks out from behind the drill bit, and the drill bit is the same width as the sleeve bolt itself:
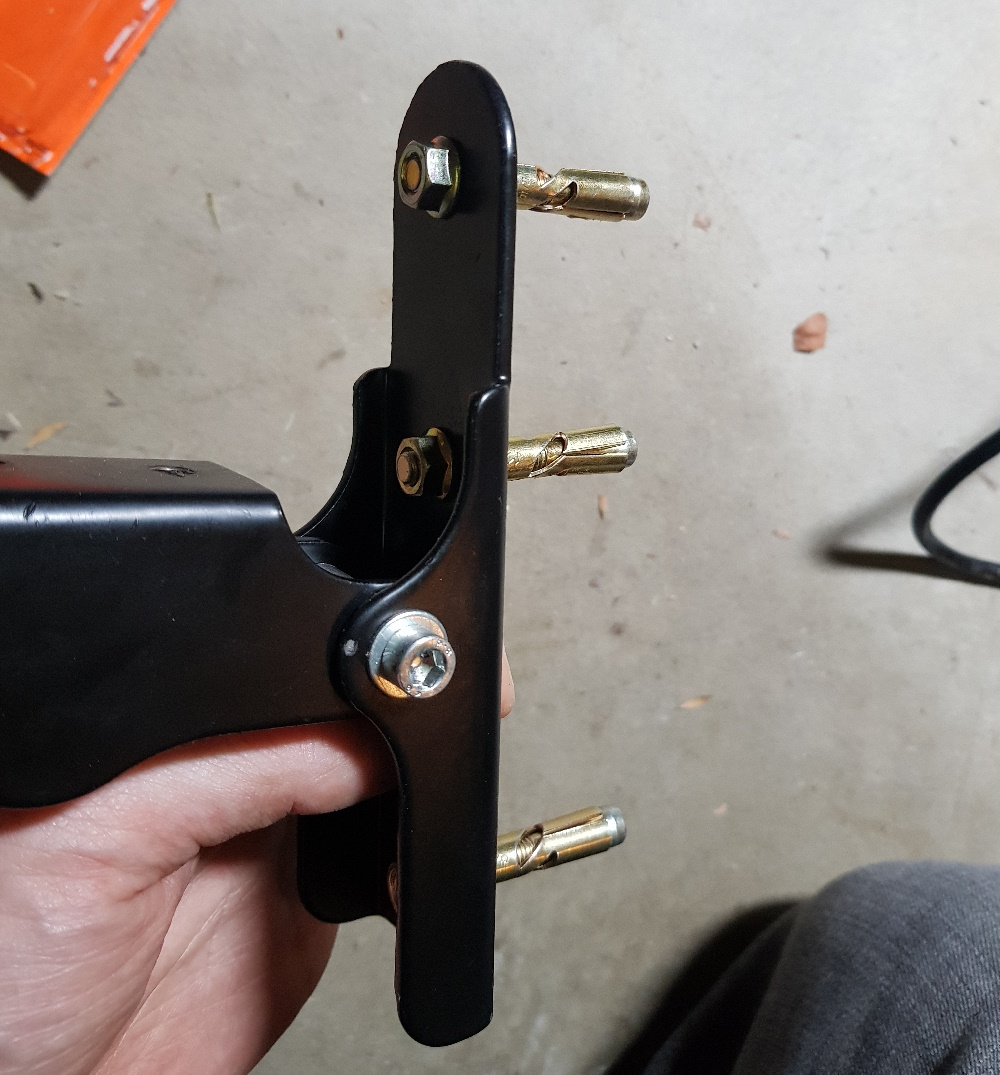
Now that you’ve drilled the 8mm holes, take the bolts off the dynabolts:
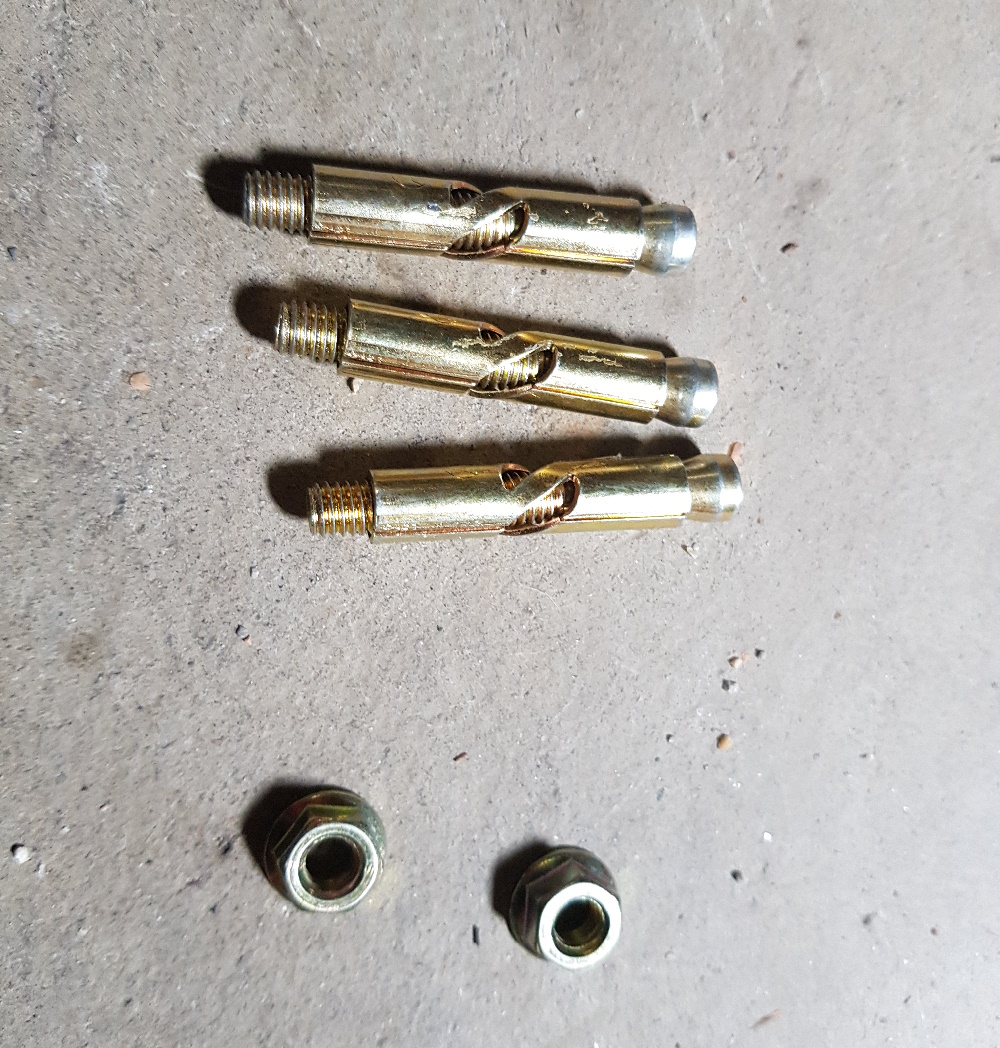
And attach them to the bracket. You only want to screw them on a little bit as shown here:
Now line them up with your holes:
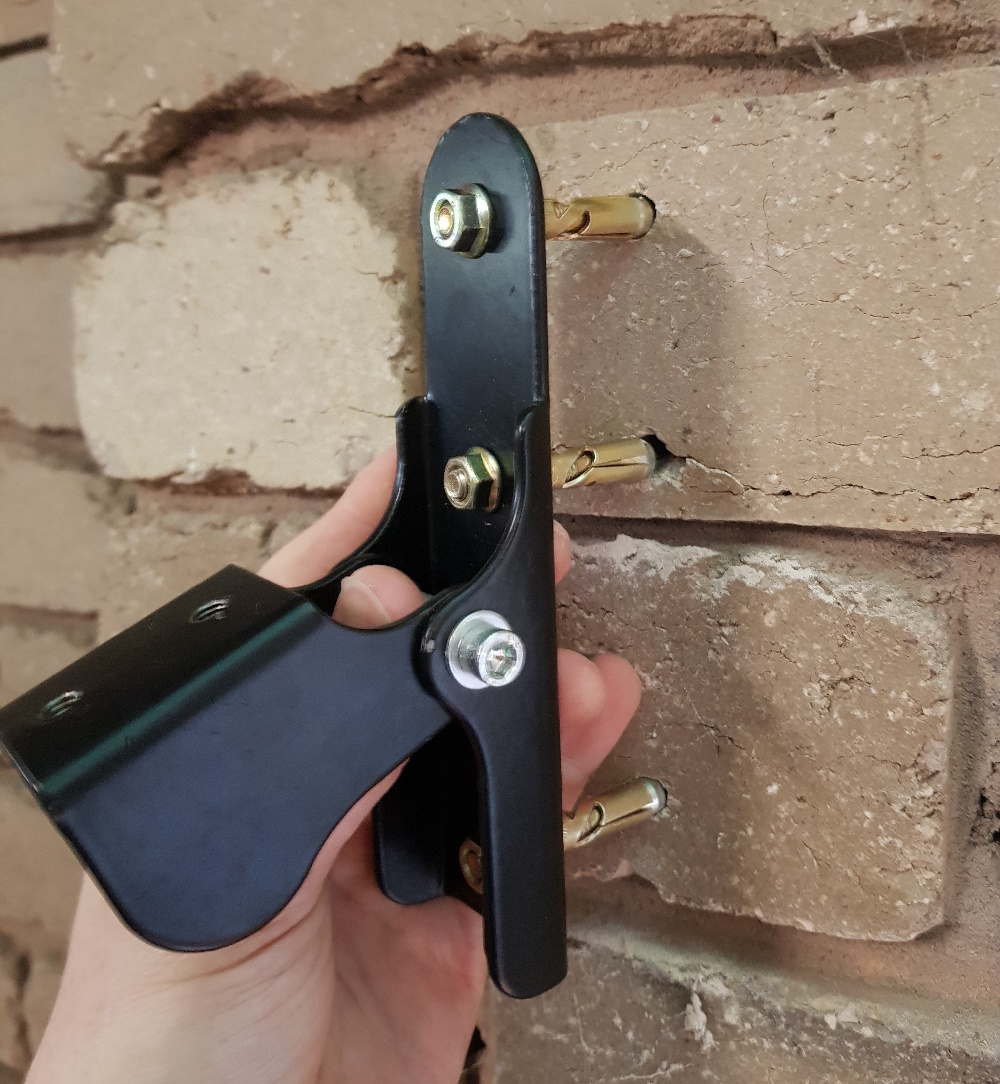
And with a good old fashioned hammer, smack them in. Do each one 1 or 2cm at a time. Make sure to follow through with your hammer strokes! You should end up with the bracket against the bricks. Don’t stress if it’s not flush against the bricks. Now for the fun part. Using a wrench, tighten up those bolts. Go crazy!
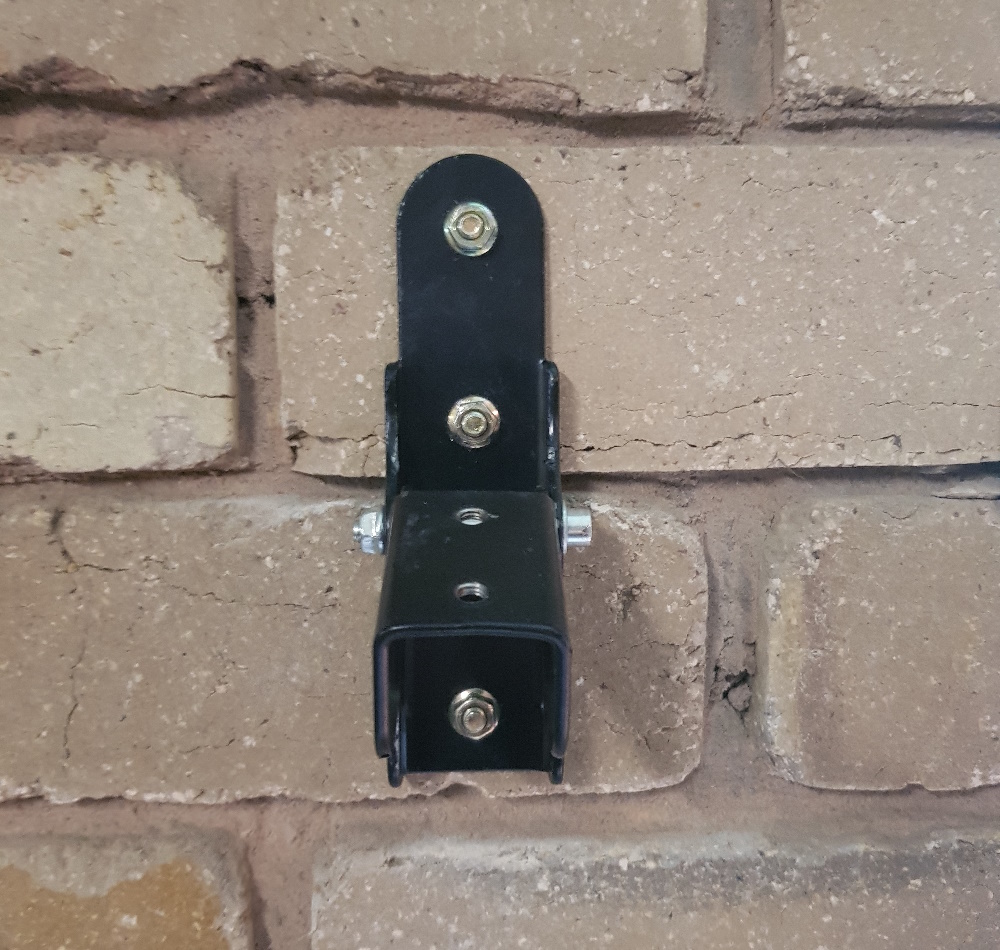
Now re-attach the bike rack to the bracket using the allen key bolts, and voila, one bike rack!