So you want to add two factor authentication to your site?
I have created a NuGet package that will get it running in 10 minutes. Alternatively, I have also written an article on how you can implement it manually without using the NuGet package.
This method is using ASP.NET’s Identity and Google’s “Authenticator” app. The authenticator app is simple, very widely used (GitHub and Slack, to name two) and works very well.
If you are adding two-factor authentication to an existing site or codebase, I would suggest that you start by creating a brand new project and adding the already-prepared NuGet package that I have prepared. This will add all of the neccesary code, web pages, references and dependencies. You can step through the code and see how it all works and holds together. Once you are happy with it you can then add the package to your existing solution.
Alternatively, you can add all of the code manually, which is a lot more involved, but will give you a better overall picture on how it holds together. That part will be covered in part two.
Create your sample application
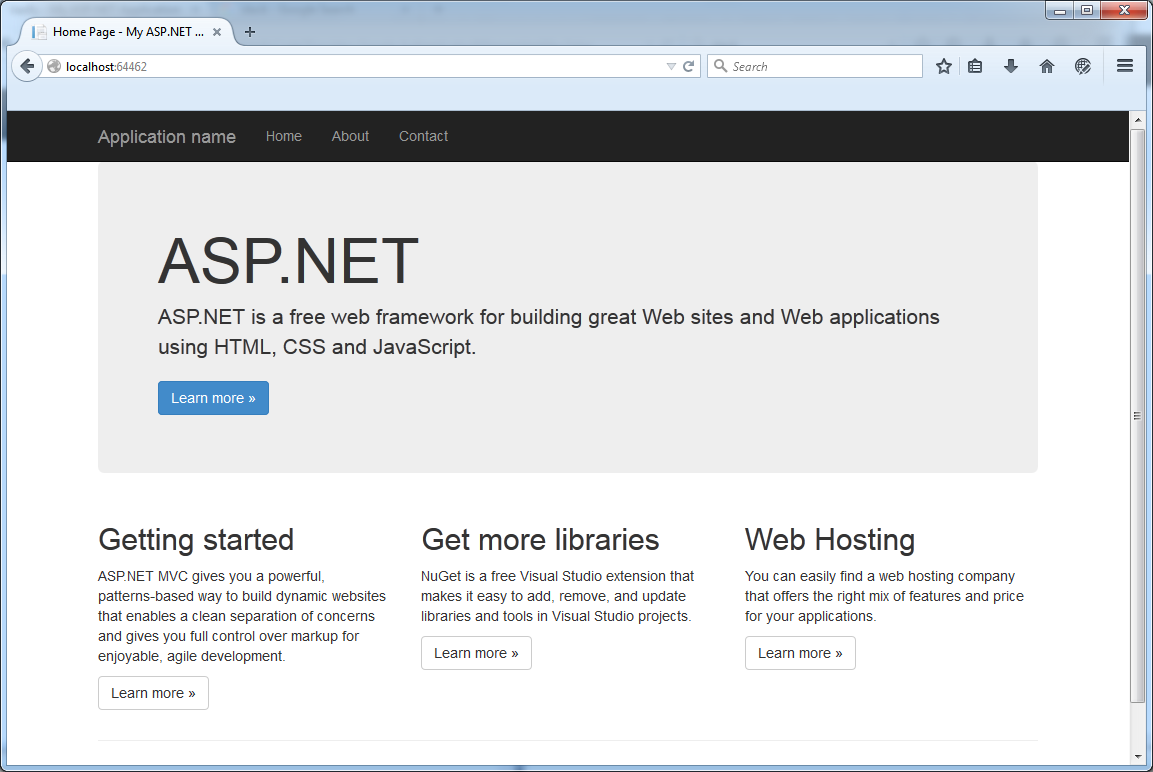
The first step is to create a new ASP.NET MVC web application, making sure to set authentication to none:
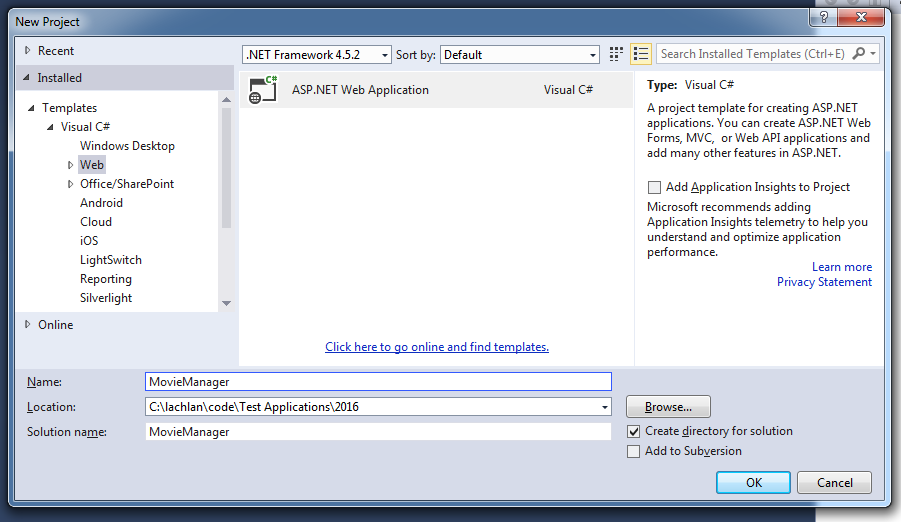
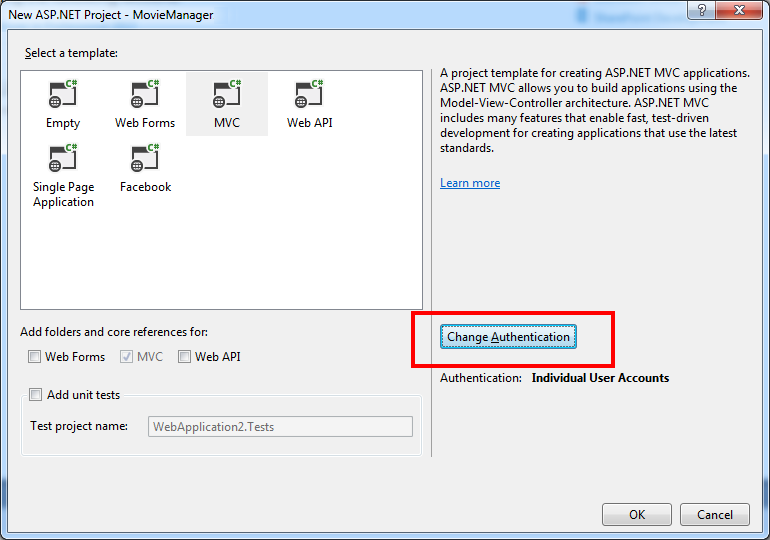
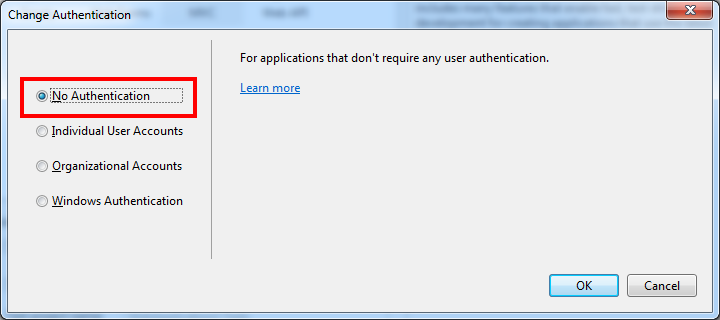
From this screen you can click “Ok” – and then on the next screen turn off authentication by clicking “Change Authentication” and selecting “No Authentication”:
You should now have a very basic MVC app:
Adding the NuGet package
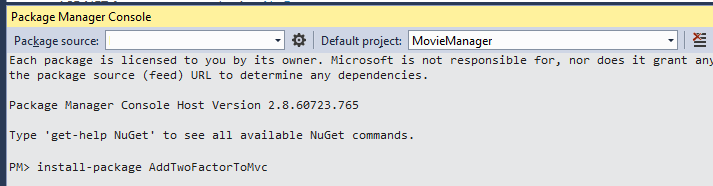
You can now add the NuGet package “AddTwoFactorToMvc” by running:
install-package AddTwoFactorToMvc
in the package manager console, like so:
Files Added by NuGet Package
| File | Description |
|---|---|
| Content\authenticator-iphone-sample.png | Example image showing how to use the authenticator app |
| Controllers\AccountController.cs | Controller for managing all the account pages like registration, login, logout etc |
| Controllers\ManageController.cs | Controller for managing all of the “manage my account” pages |
| Scripts\qrcode.js | Javascript library for generating QR codes |
| TwoFactor\database-scripts\twofactor.sql | SQL script for creating tables in the DB |
| TwoFactor\readme.txt | Instructions for installing TwoFactor |
| Views\Account\*.cshtml | Pages handling registration, login, logout etc |
| Views\Manage\*.cshtml | Pages for the user to manage their account |
| Views\Shared\_LoginPartial.cshtml | Partial control used to display Registration/Login links |
Directories Added
| Directory | Description |
|---|---|
| TwoFactor\classes\auth | Contains the code for two factor authentication |
| TwoFactor\classes\common | Common code used across multiple pages |
| TwoFactor\classes\models | ApplicationDb and ApplicationUser models |
| TwoFactor\classes\viewmodels | Viewmodels for Account and Manage pages |
All of these files should be added to your source control system.
You should also see an installation/configuration page that will tell you how to get started. There are just three steps needed:
- Database Configuration
- SMTP Configuration
- Adding the Login Bar to your master page
Database Configuration
The first step will be to create a SQL Server DB that will be used to store the member’s credentials. You can do this very simply by using the following script:
CREATE DATABASE [moviemanager]
GO
you will also need to create a user that your ASP.NET application uses to connect to the DB as:
USE [master]
GO
CREATE LOGIN [moviemanageruser] WITH PASSWORD=N'moviemanagerpassword',
    DEFAULT_DATABASE=[moviemanager], CHECK_EXPIRATION=OFF, CHECK_POLICY=OFF
GO
USE [moviemanager]
GO
CREATE USER [moviemanageruser] FOR LOGIN [moviemanageruser]
GO
ALTER ROLE [db_owner] ADD MEMBER [moviemanager]
GO
You will need to add a connection string to your web.config:
```<configuration>

  ...

<connectionStrings>

    <add name="DefaultConnection"
	 connectionString="Server=localhost;database=moviemanager;
	     User Id=moviemanageruser;password=moviemanagerpassword"
	 providerName="System.Data.SqlClient" />

</connectionStrings>
Once the tables have been created, we need to add the columns necessary for two factor authentication by running the following script:
TwoFactor\database-scripts\update-existing-db.sql
Db Owner?
You may have noticed that I have added the db_owner role to the moviemanageruser account. This is a very bad practice when it comes to security, as it means that if someone can find a way to execute SQL via a security hole on your website, they will have full access to your entire DB. They can read your data, update your data, or worse of all, delete your entire database.
We need to give the user account full access so that the entity framework can do its thing and create all of the tables necessary. Once they have been set up, we can lower the permissions level needed. I will write another post on this soon.
Configuring SMTP
Whenever a user registers on your site, you need to send them an email so they can confirm that they own that email address. You’ll need to enter your SMTP server’s details so that this email can be sent. If you open this file you can edit the following file:
<p>With these contents:</p>

```csharp
namespace MovieManager
{
    public class Emailer
    {
        const string smtpServerName = "localhost";
        const string replyToEmail = "[email protected]";

        public void sendEmail(string email, string subject, string body)
        {
            MailMessage mail = new MailMessage(
                replyToEmail,
                email,
                subject,
                body);

            mail.IsBodyHtml = true;

            SmtpClient client = new SmtpClient();

            client.Port = 25;
            client.DeliveryMethod = SmtpDeliveryMethod.Network;
            client.Host = smtpServerName;

            client.Send(mail);
        }
    }
}
( I would suggest moving the smtpServerName and replyToEmail to your web.config and use the ConfigurationManager.Appsettings object to retrieve them. ) For development purposes you can simply comment out the client.send(mail), as you will be able to approve the registered email address manually.
Adding the Login Bar to your site
You will also need to add the “Register / Login / Manage My Account” links to your site:
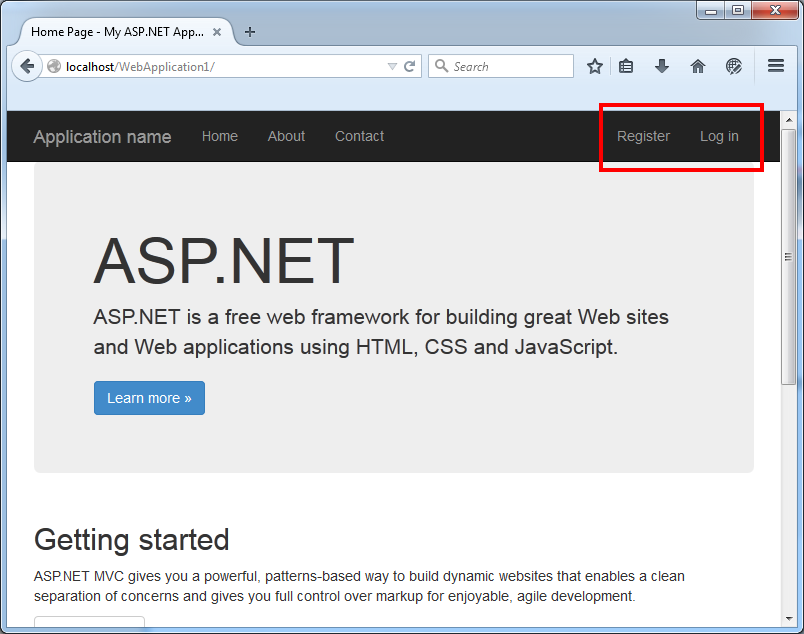
these have been bundled into a partial view named:
Views\Shared\LoginPartial.cshtml
which has been added to your project by the NuGet package. You’ll need to add a call to @Html.Partial() to render it, which I suggest putting into your Views\Shared\_Layout.cshtml page:
<body>
    <div class="navbar navbar-inverse navbar-fixed-top">
        <div class="container">
            <div class="navbar-header">
                ...
            </div>
            <div class="navbar-collapse collapse">
                <ul class="nav navbar-nav">
     ...
  </ul>
  @Html.Partial("_LoginPartial")
Let's go!
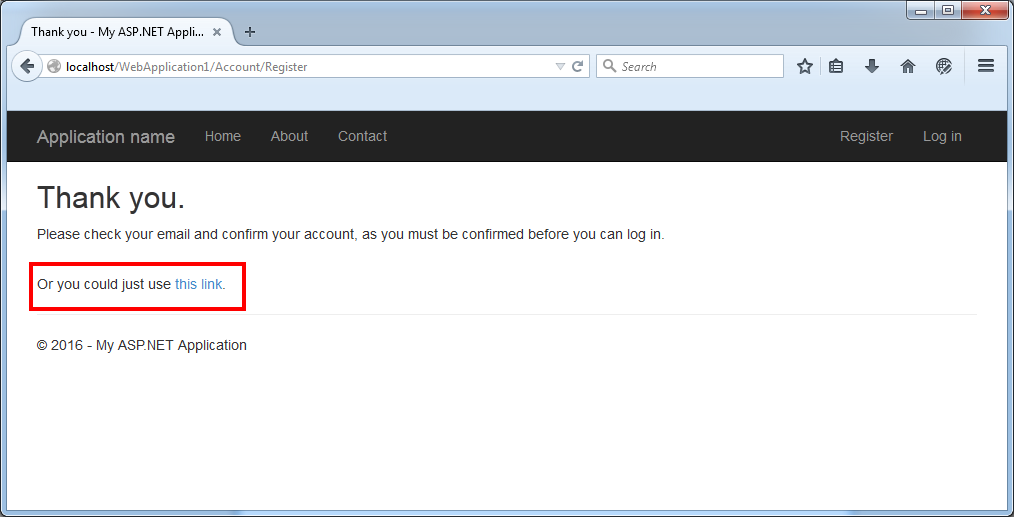
You can now go ahead and test your two factor authentication! Simply register on your site:
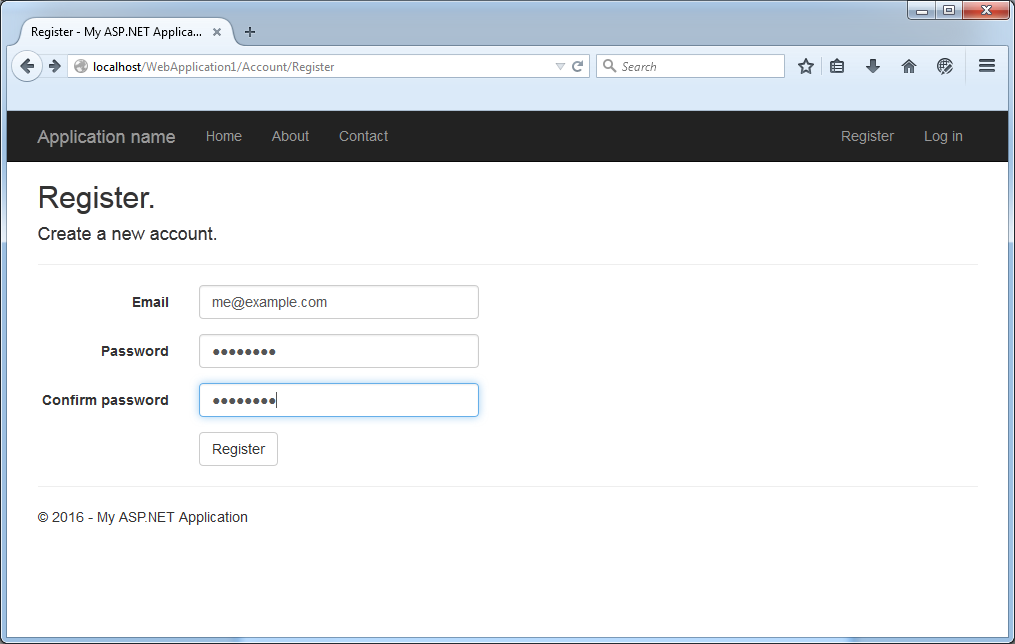
After you click “Register”, you will need to verify your email. If you are working on a Debug build, you can just click on the link provided which will verify your email automatically:
Your email should now be confirmed:
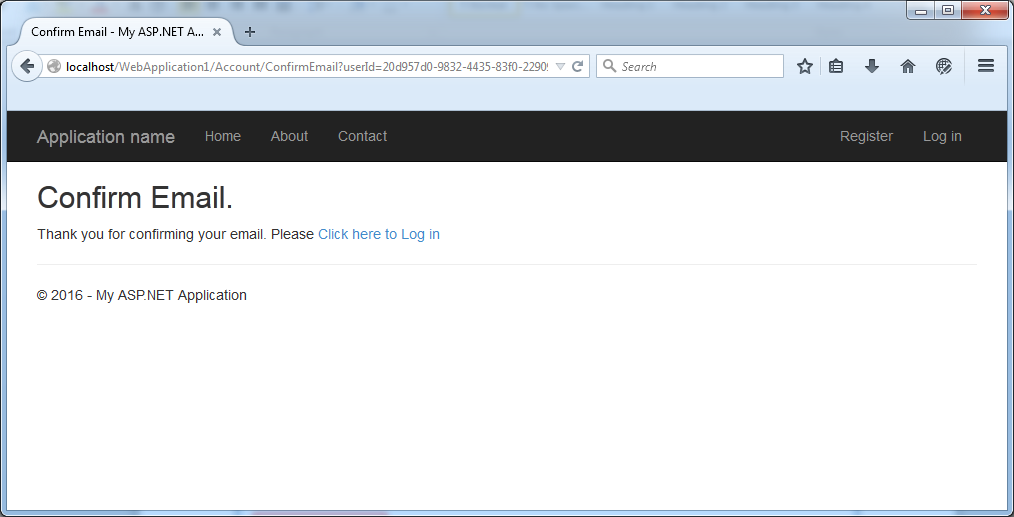
And you can now login:

voila!
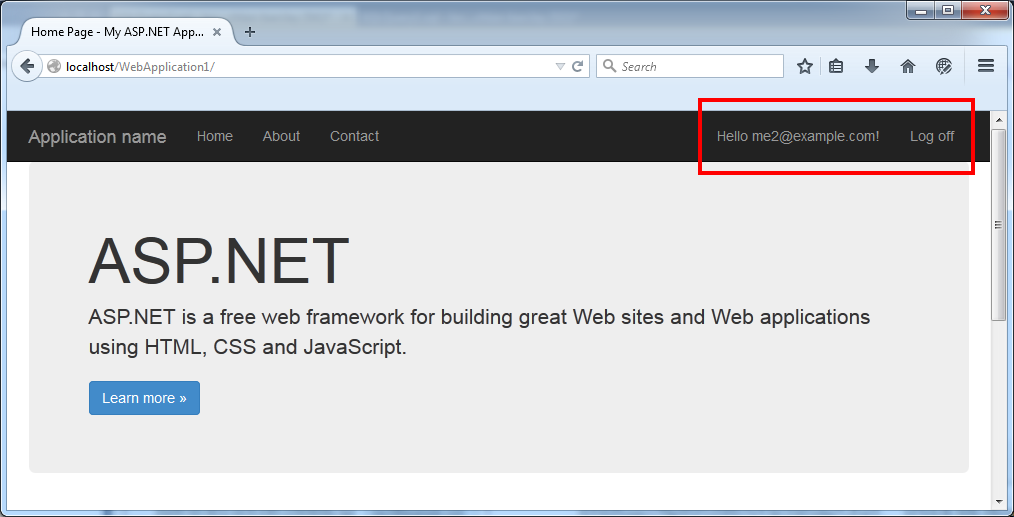
but hang on... WHERE’S MY TWO FACTOR AUTHENTICATION??
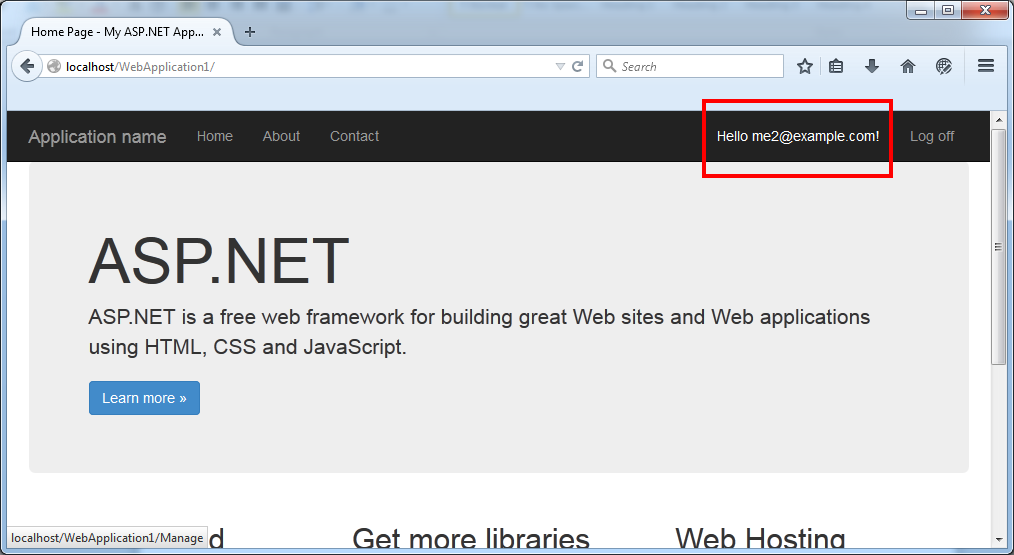
You need to enable it!
Click on your user account:
and click “Enable” for google’s authenticator:
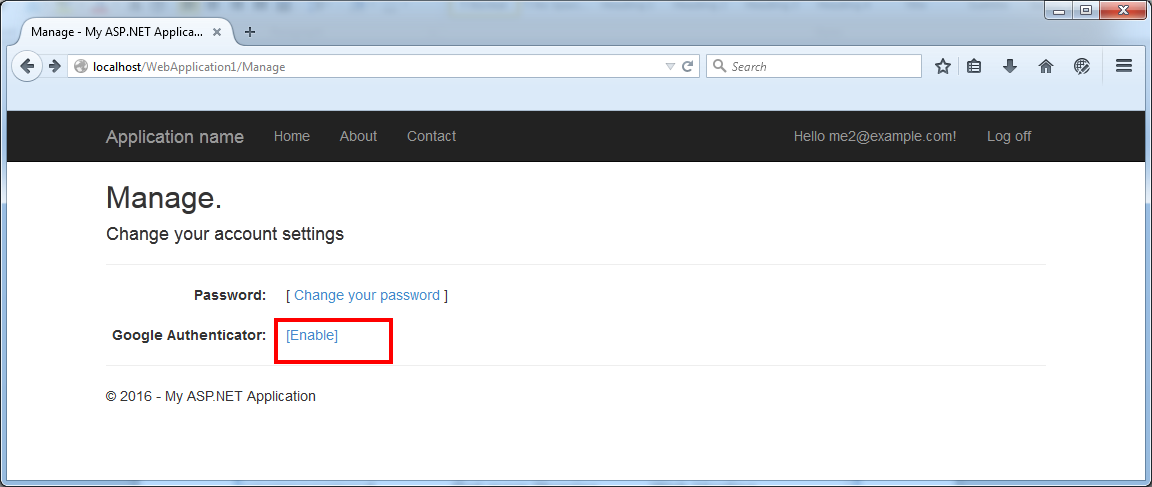
you will now need to scan the QR code using Google’s Authenticator app, and enter the 6 digits provided:

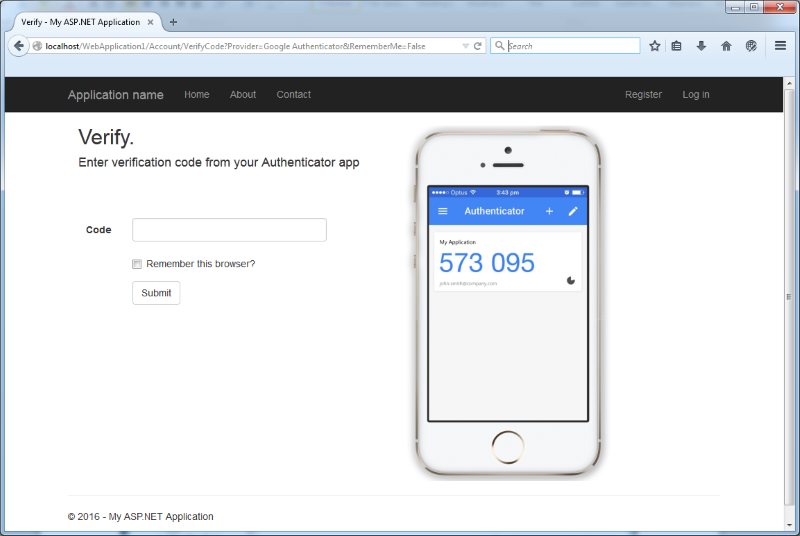
now log out, and log back in again, this time you should see the following:
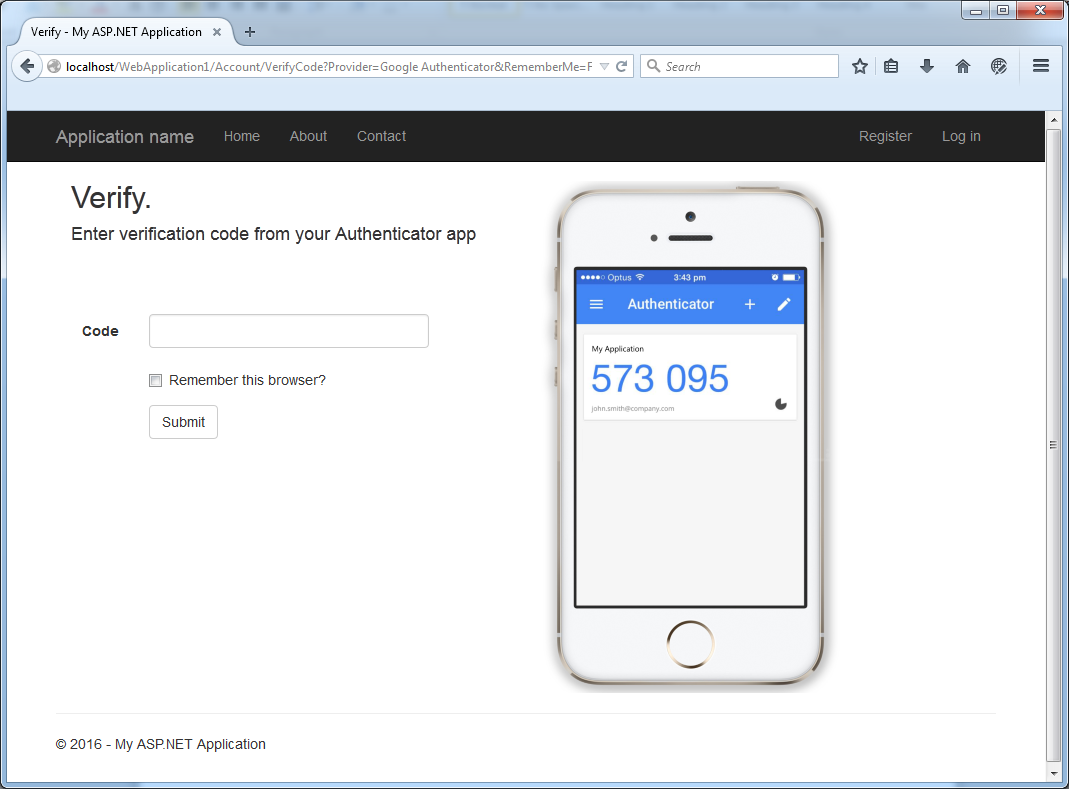
enter the verification code shown on your mobile and you have successfully logged in!
A few other points to note...
- Yes, your database user probably still has db_owner permission. You need to lower this.
- At no point is any data (password or otherwise) transferred to or from google’s servers. The joy of the authenticator app is that you are (essentially) storing a password on your mobile, and your application knows how to work out if the one-time 30 second code is currently valid. There is no need to transmit the password over the wire.
- You need to encourage your users to use a complex password. You can add a “password strength meter”, using something like JQuery Password Stregth, or you can add links to KeePass & LastPass.
- Calling it “two factor authentication” is bad. You know why? Most users see that phrase and go “I don’t know what that is, I’m not interested”. Calling it something like “Login Approvals" like facebook have is a much friendlier approach and will probably see much higher adoption!
- Adding functionality that says “you recently logged in from a new/unknown device, if you don’t recognise it let us know” would be a great extra layer. A free system like MaxMind might be useful, or a paid system like IpInfo might help.
- If you are developing an enterprise system, training your users on basic security principles is definitely necessary. No sharing of passwords, lock your computer when you leave your desk, don’t plug in random USB sticks etc.
- Protecting yourself from the top 10 most common security vulnerabilities will go a long way to making your app more secure. No point in adding 2FA if your site is very easily hacked.